 "CKeffer" (KefferCameron)
06/01/2015 at 11:52 ē Filed to: None
 2
2
 14
14
 "CKeffer" (KefferCameron)
06/01/2015 at 11:52 ē Filed to: None |  2 2
|  14 14 |
OK, so got Onibaba up and running this weekend, and as a result Iím posting a nice big update with lots of pics.
Lets start off with the sway bars. I went ahead and installed both the front and rear upgraded units, but general consensus of people who track their Miataís regularly is that the best set up is a thicker front and a stock rear, so I may be reverting to the stock rear bar and just using the poly bushings I have for the stock bar.
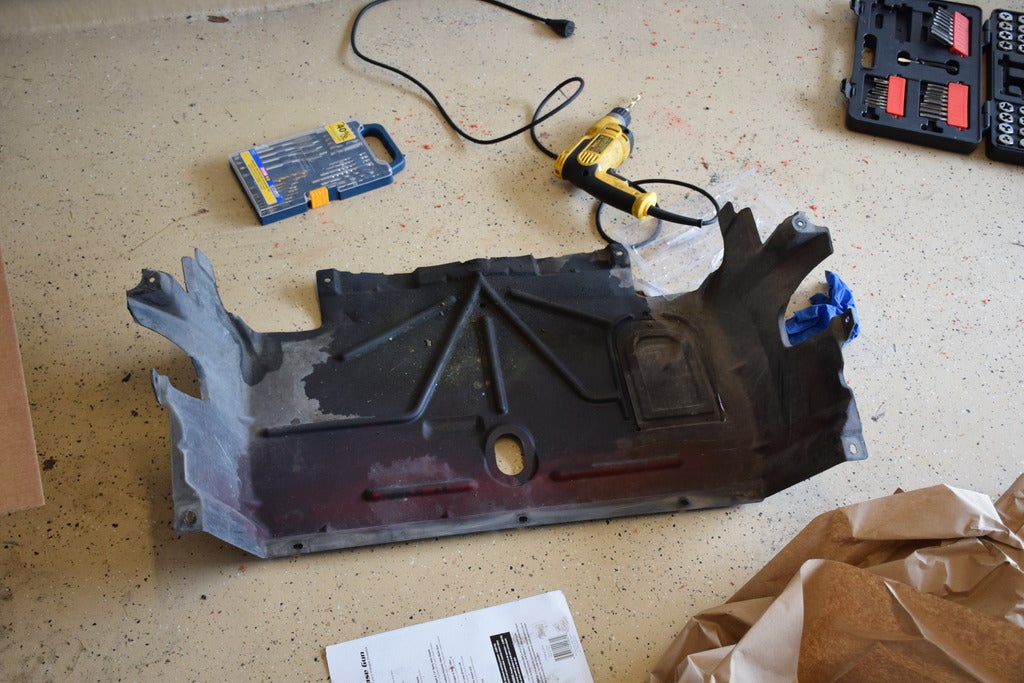
Gotta remove the front under tray to remove the front bar....fun fact, if you donít put this back on your Miata will very likely over heat as this serves as ducting.
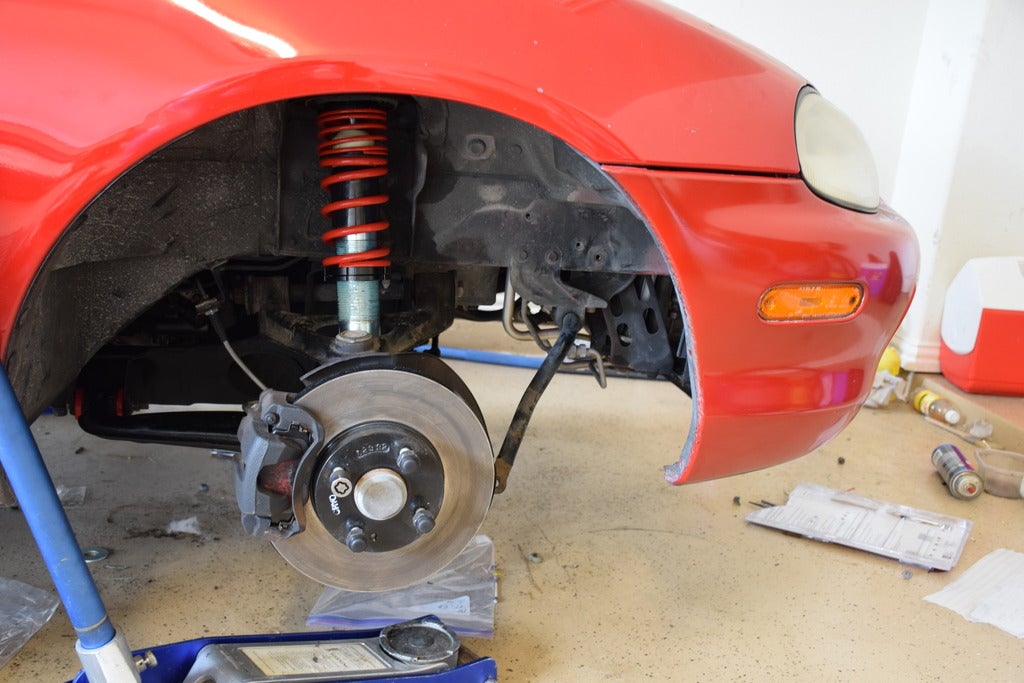
End links off...
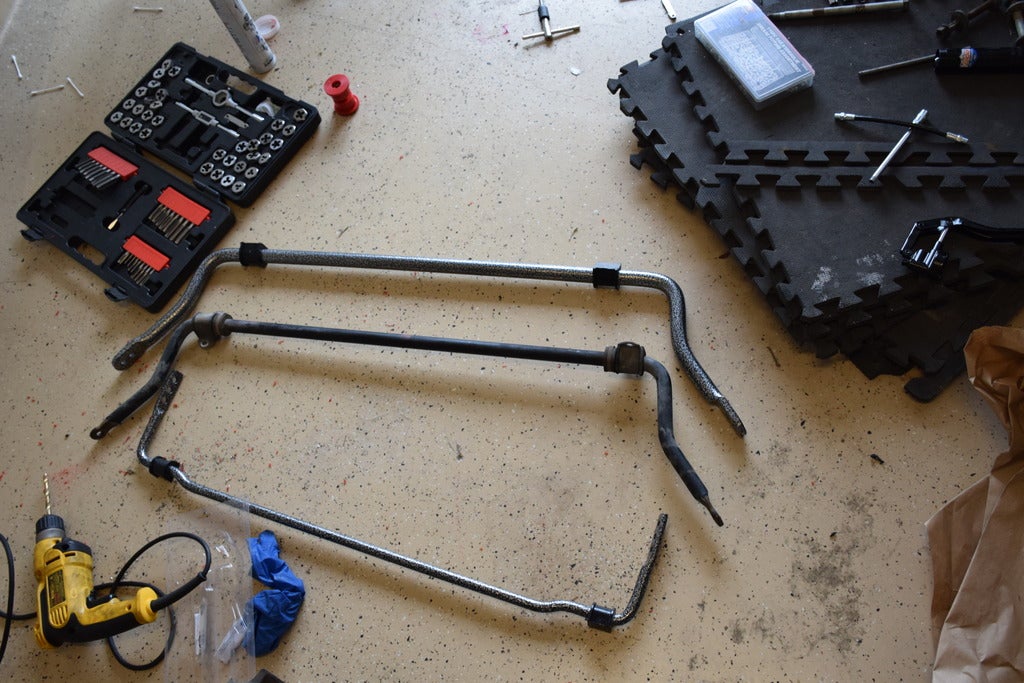
Comparison of the old and new
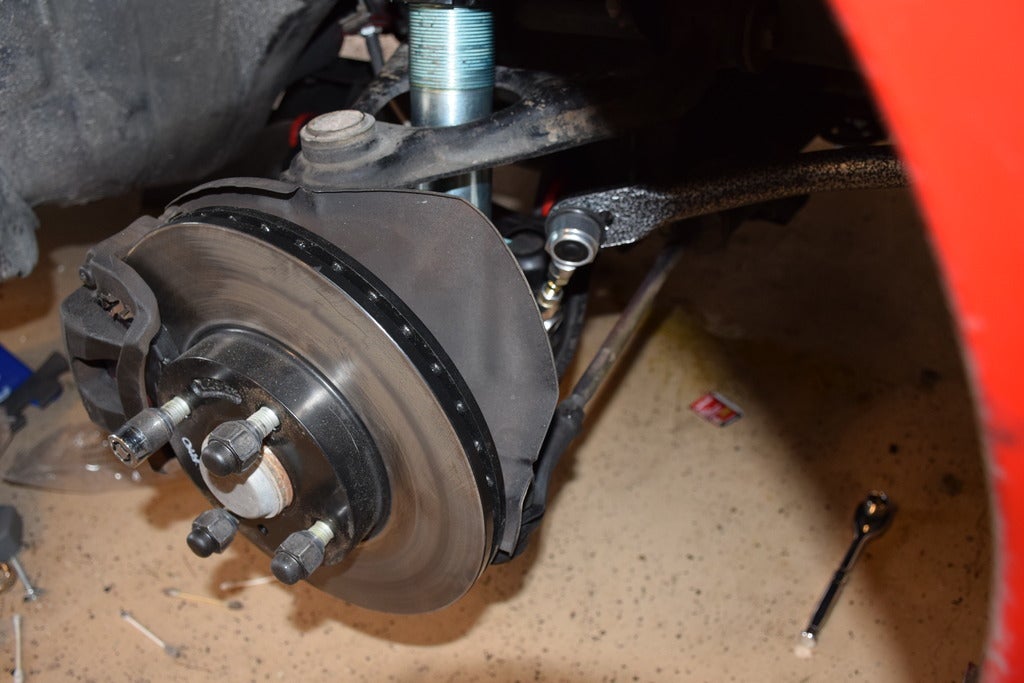
and new bar and adjustable end links on
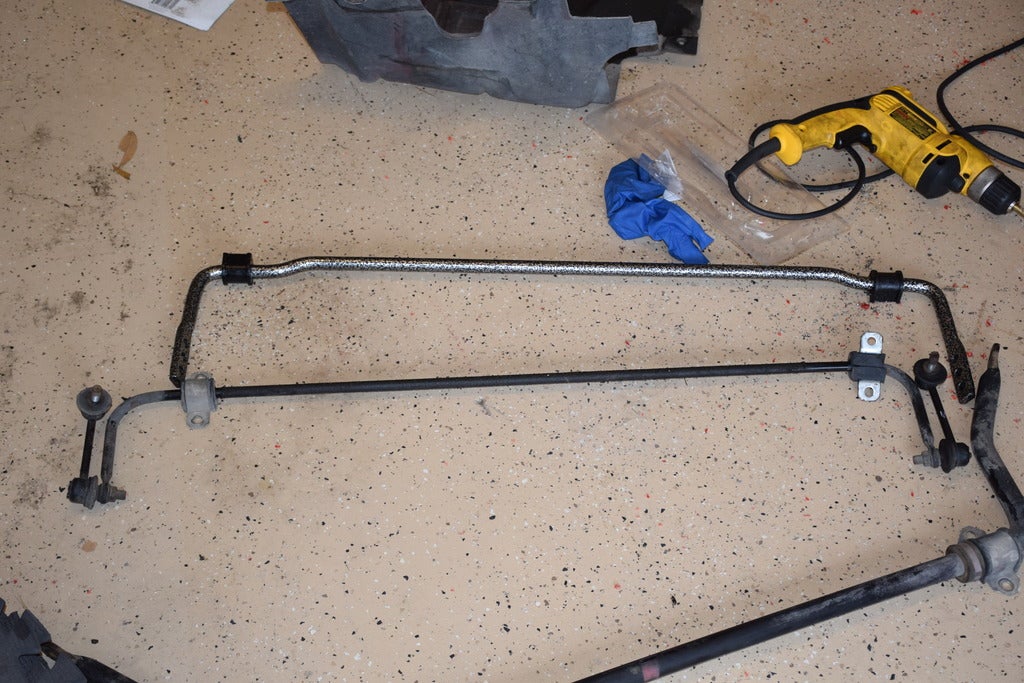
comparison of the rear bars....
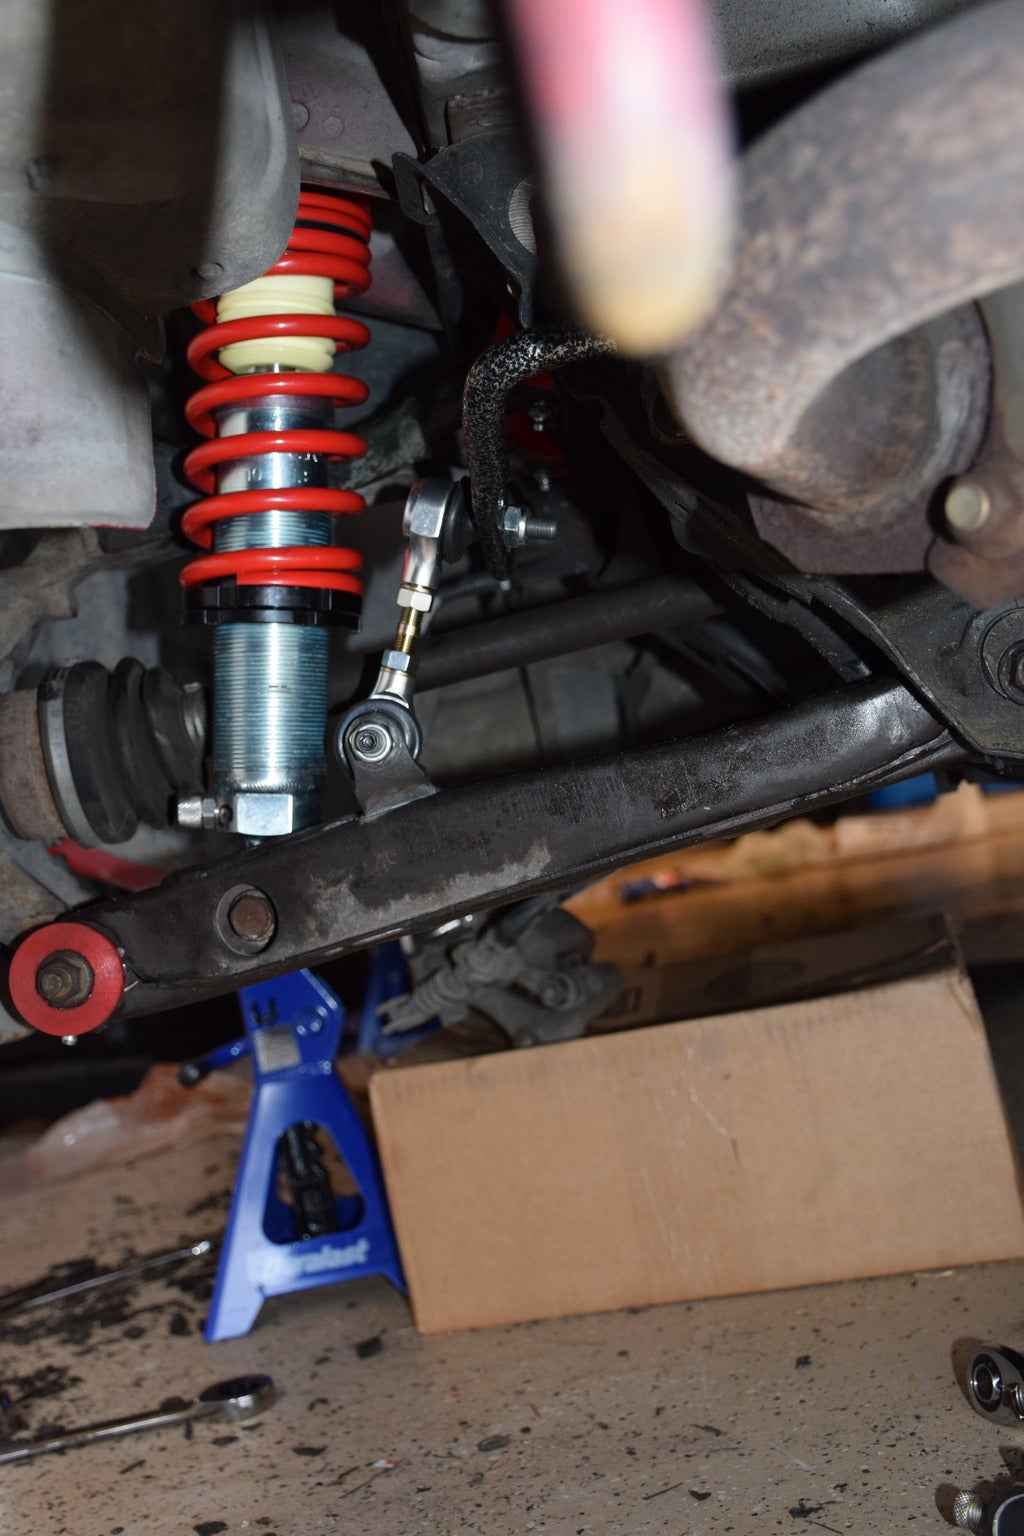
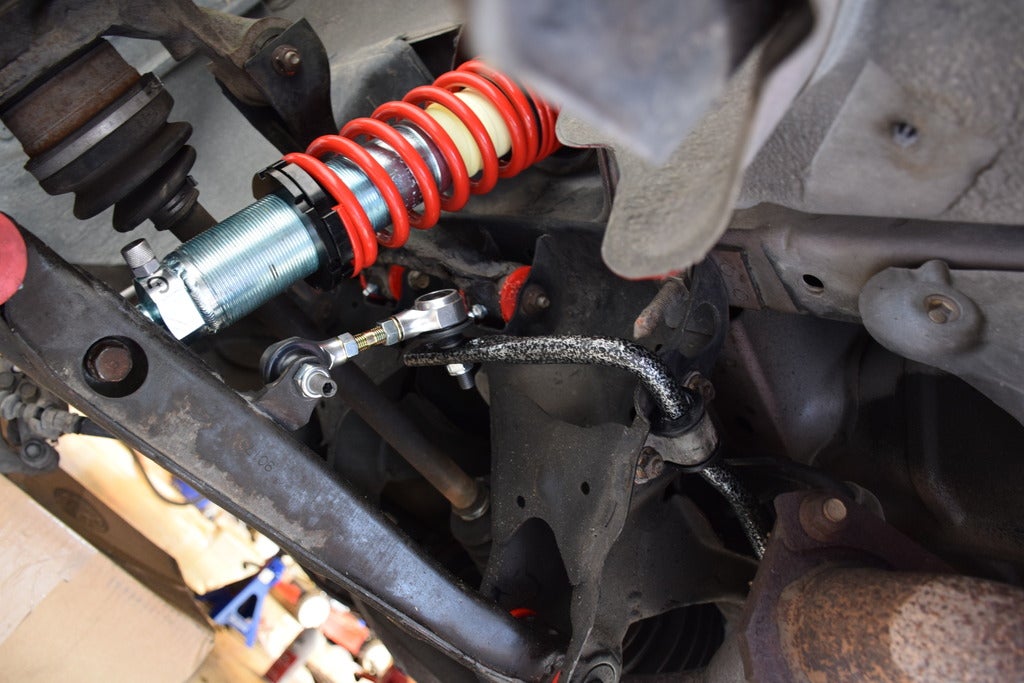
And on....but whatís that? The studs are made of aluminum foil and are only torqued to 5ft/lbs?
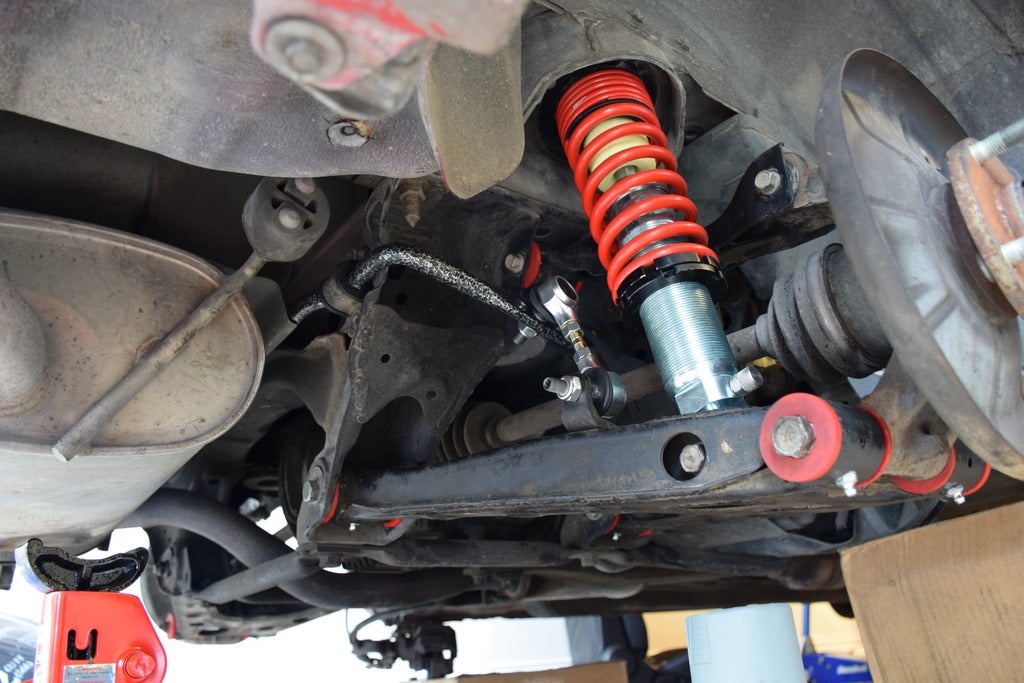
*sigh* I knew that was going too well. Ah well it was an easy fix, but still meant Onibaba kept earning her name.
Next up, new rear rotors and pads
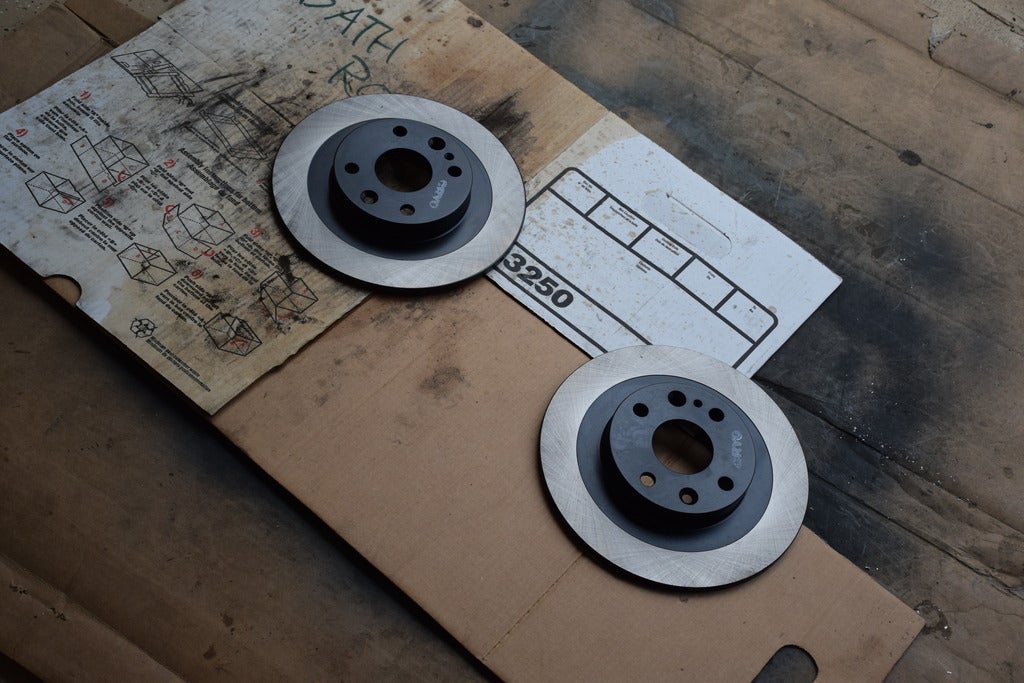
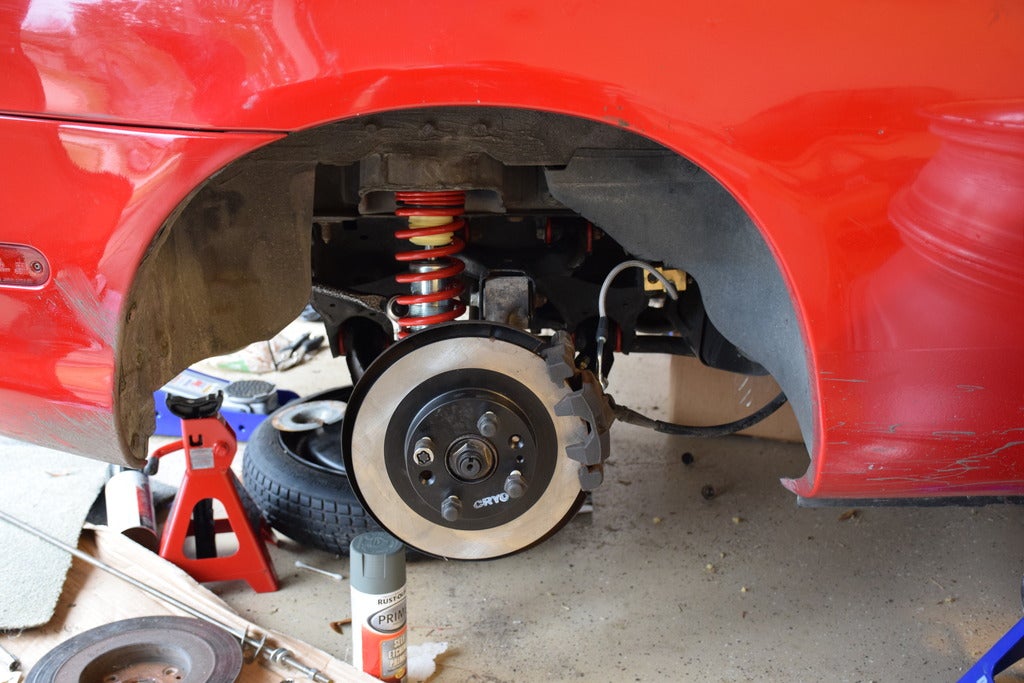
This is where I found out that a 2nd pair of hands is a wonderful thing when doing brakes, because those shims and pads do NOT want to stay where I was putting them.
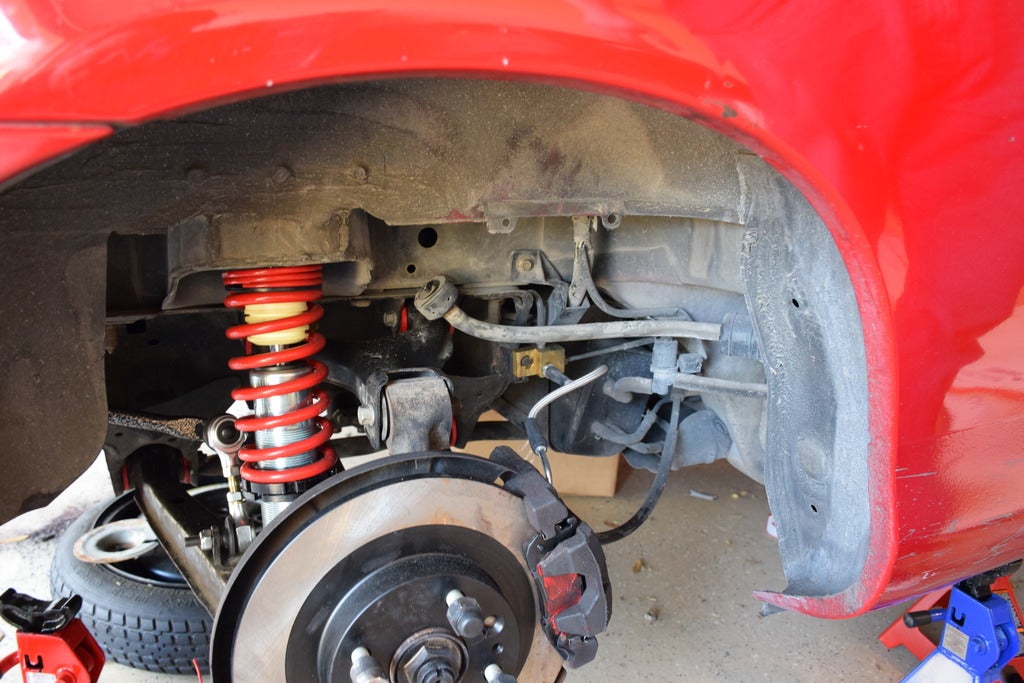
Whatever, got them on, the car now has Hawk HPS pads and Centric cryo treated rotors on all 4 corners.
Next up, removing the frame for the top, and mounting the new soft top to it. Yes, this can be done without removing the frame, but we figured this would give us more room to work.
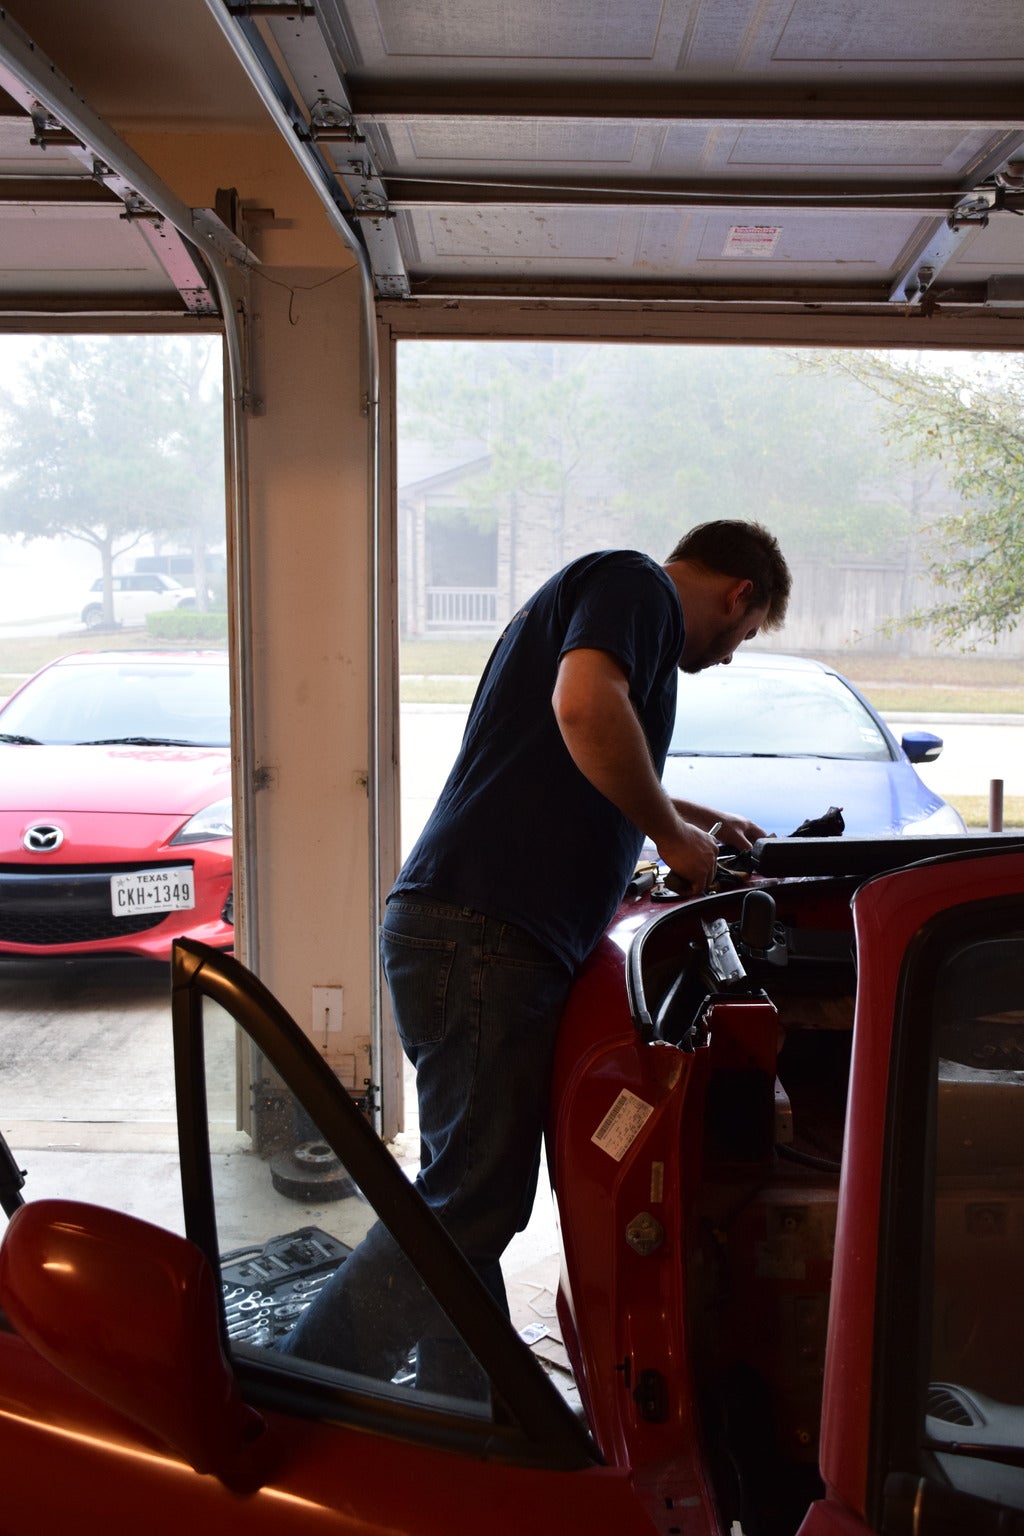
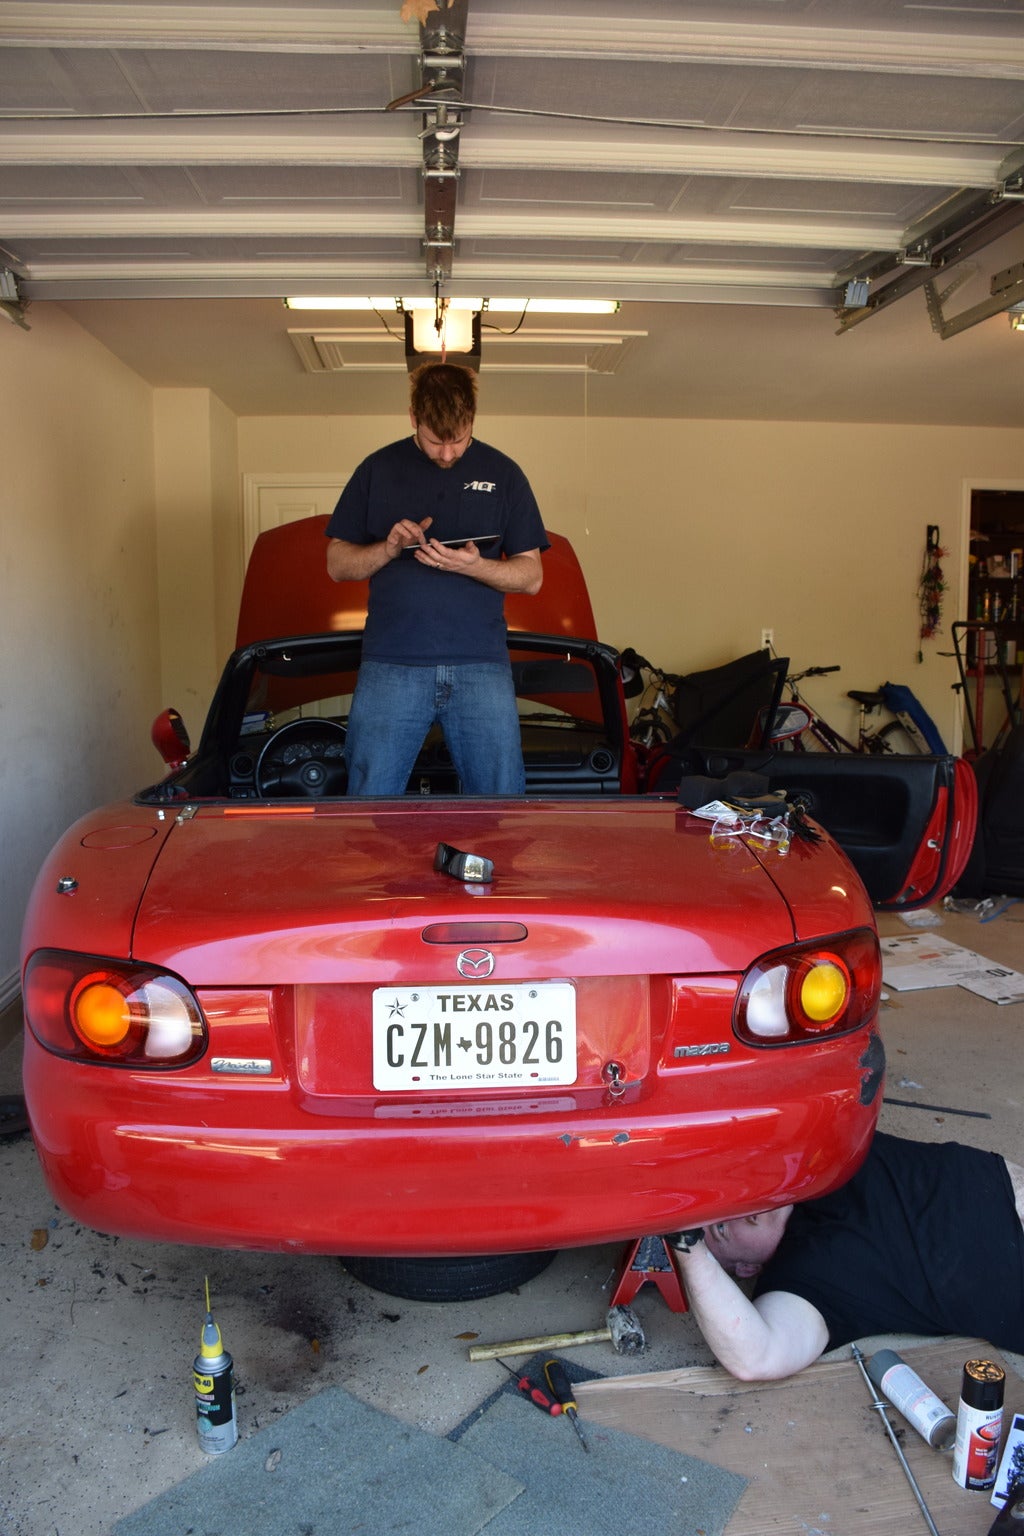
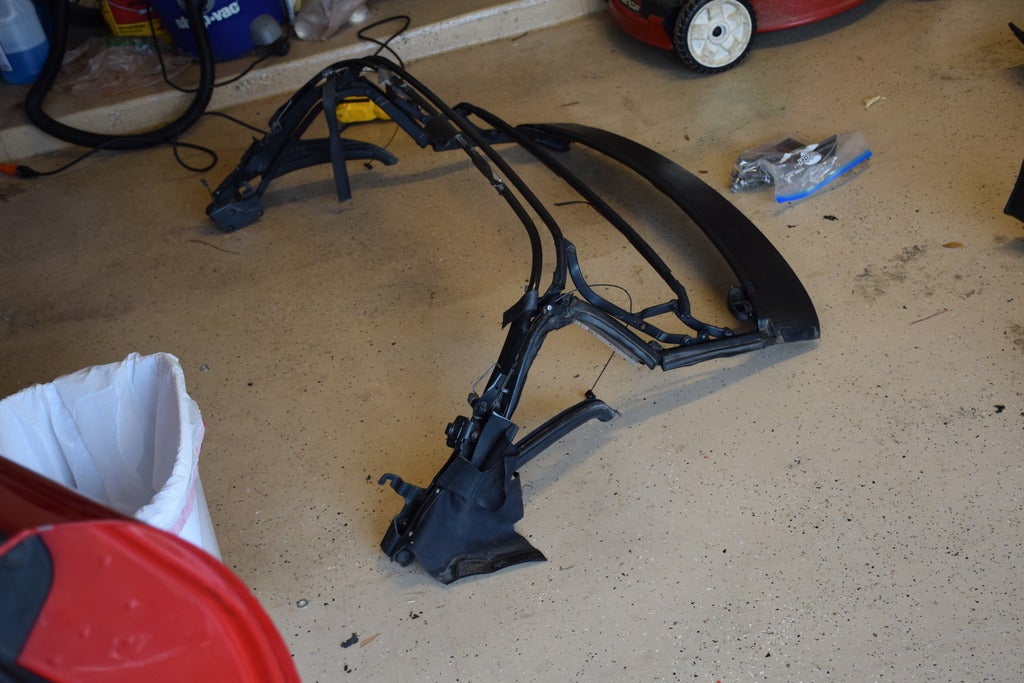
Itís out! Time to mount the new top.
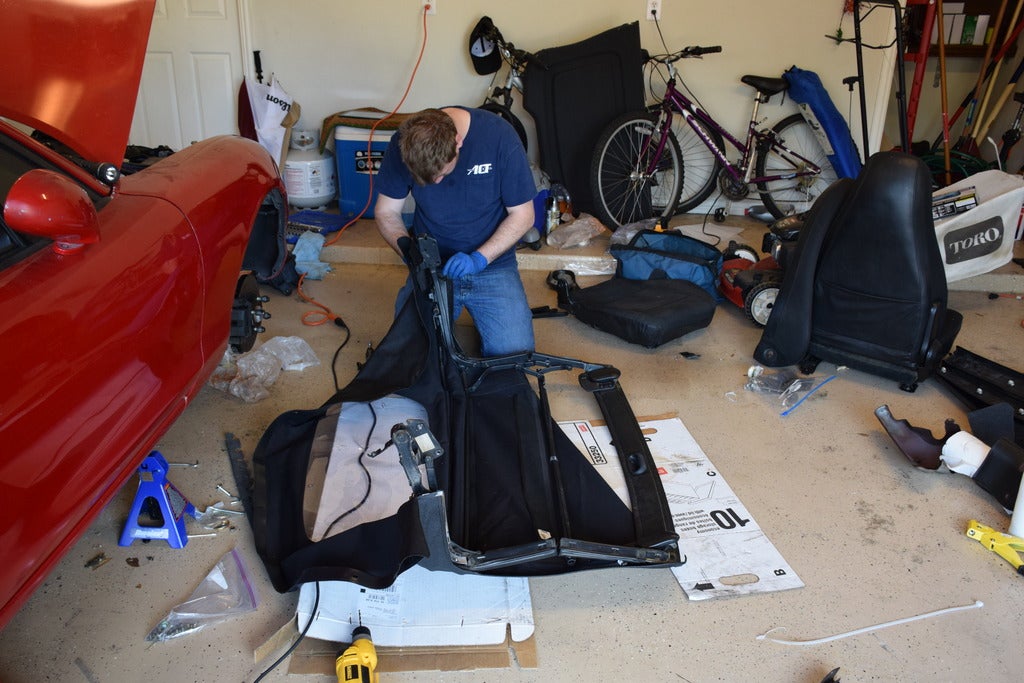
Ok, now that is done, time to set it off to the side and get the roll bar mounted up.
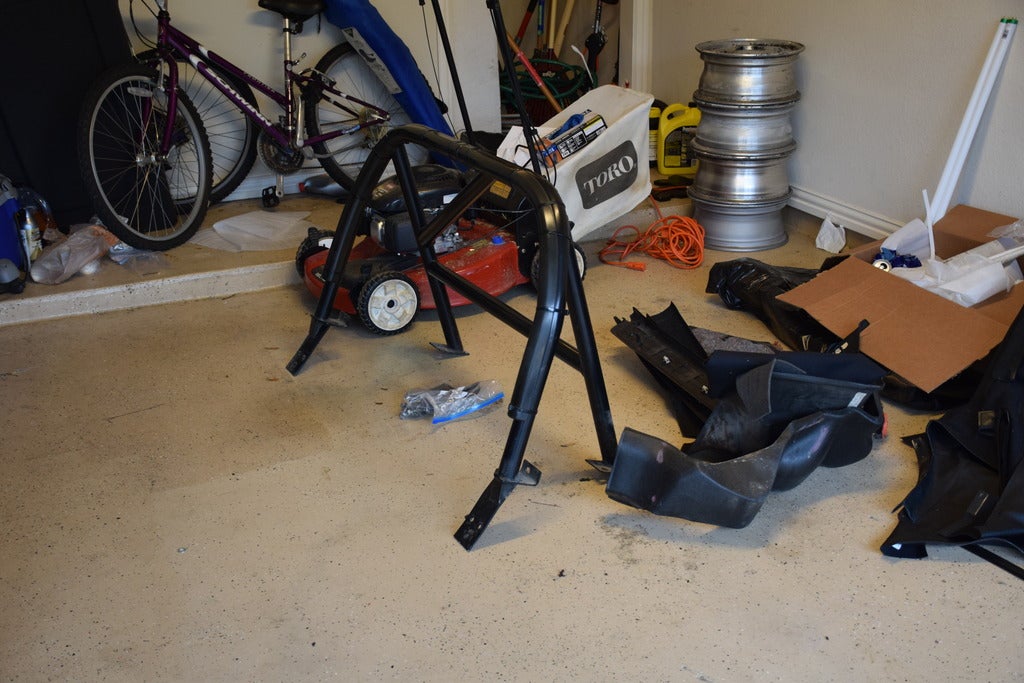
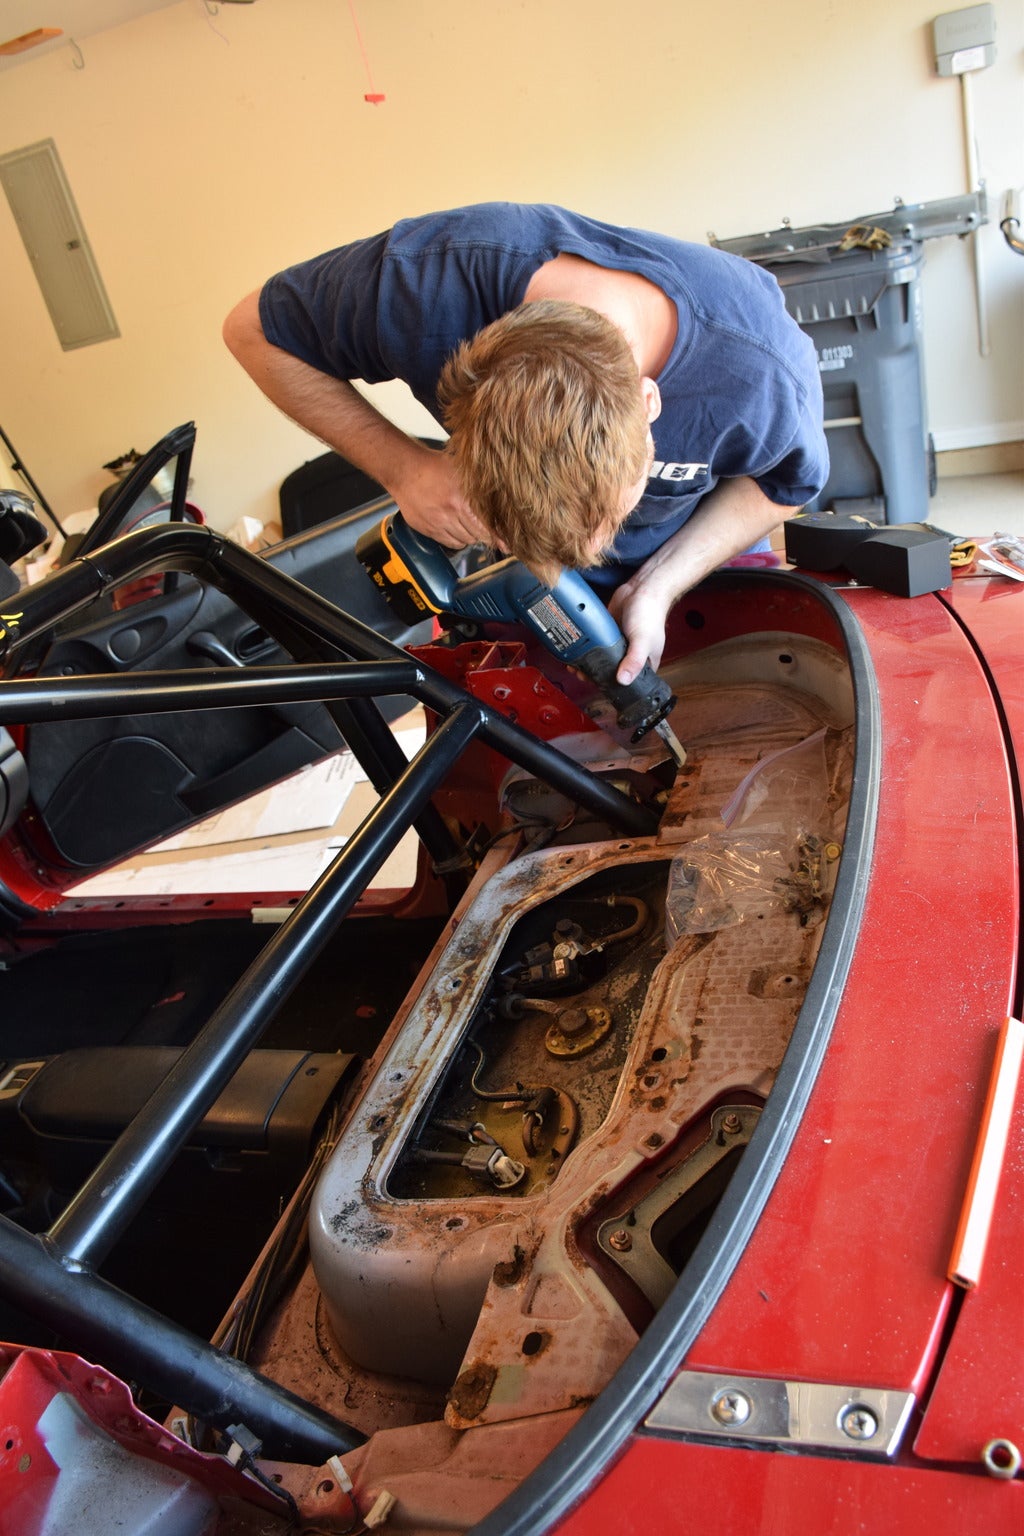
A bit of trimming was required to make it fit properly.
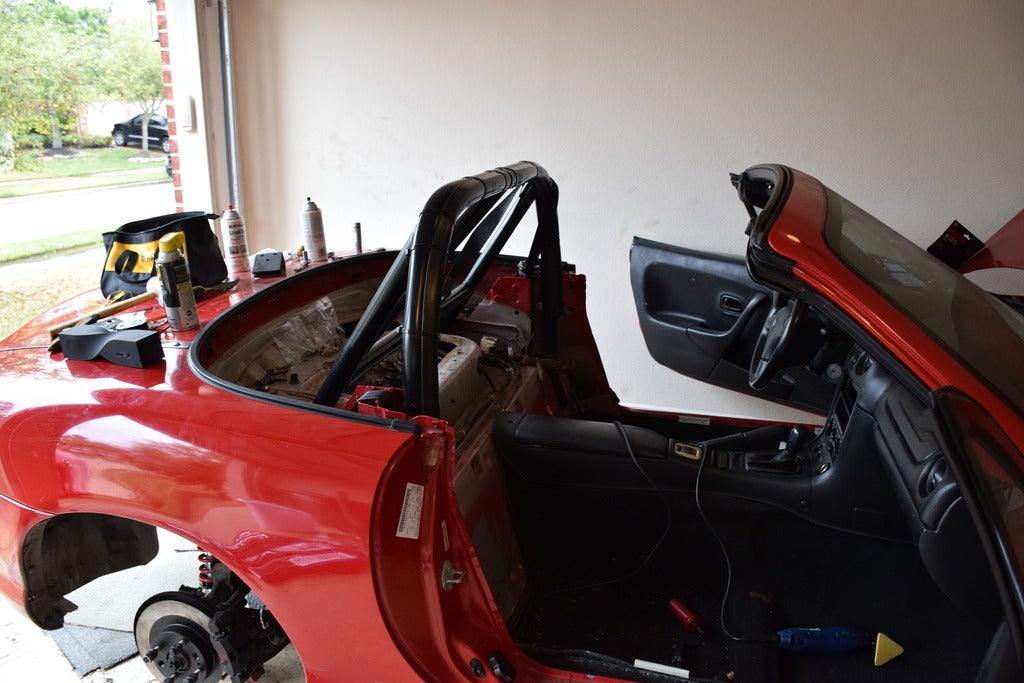
itís located, time to start drilling holes and bolt this bastard down!
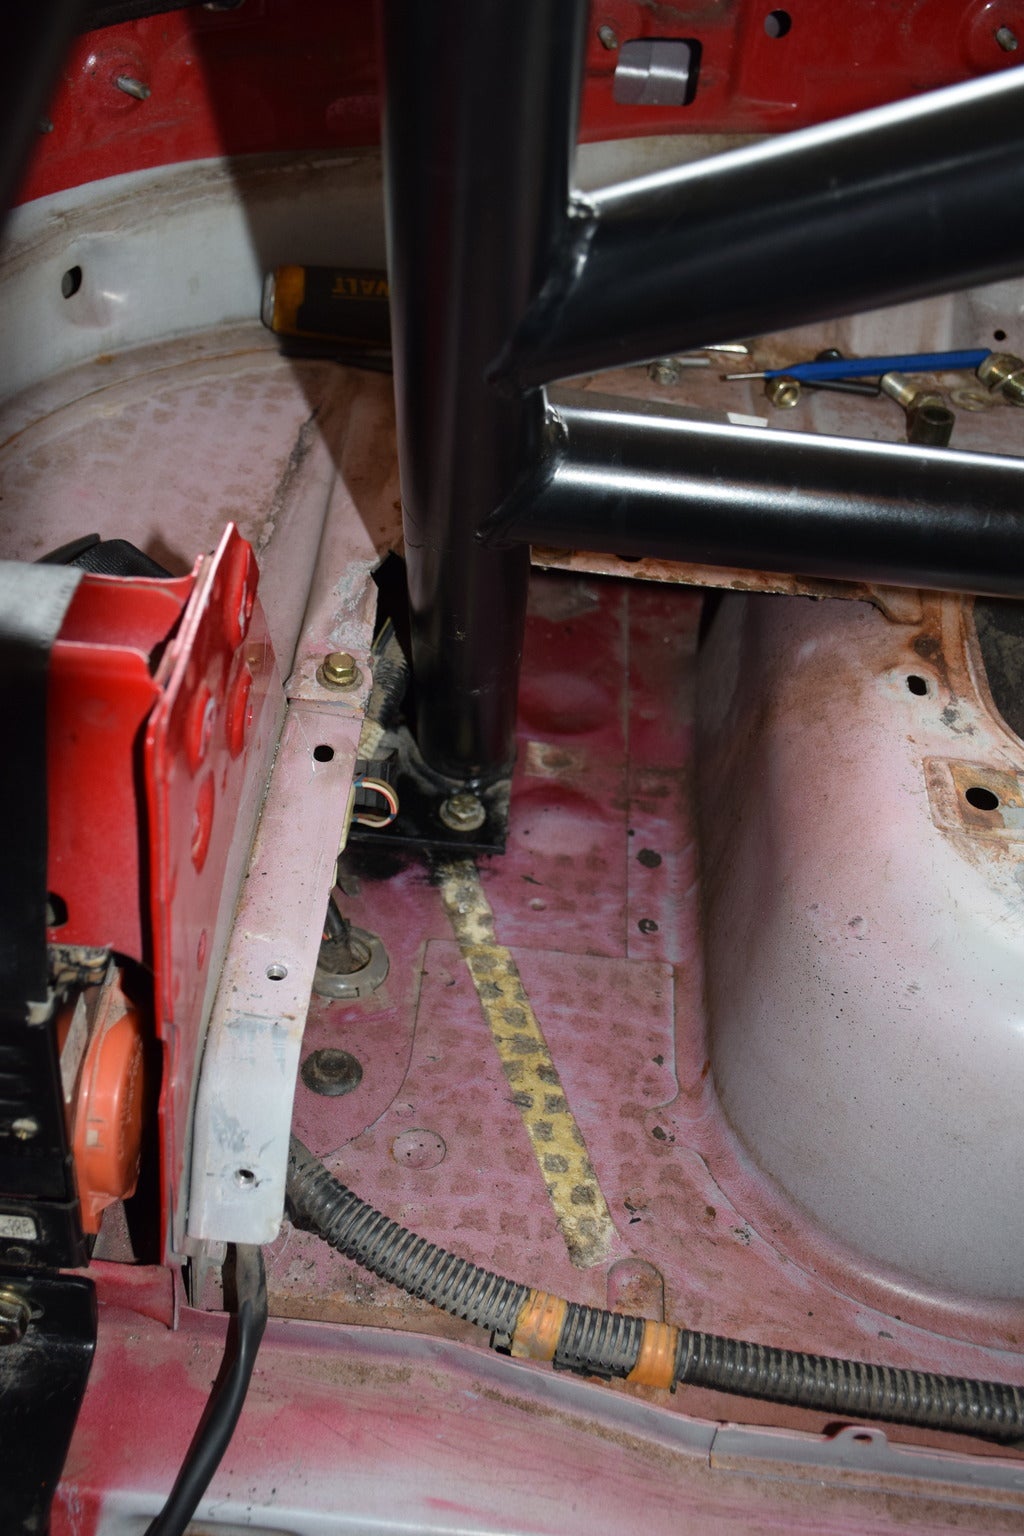
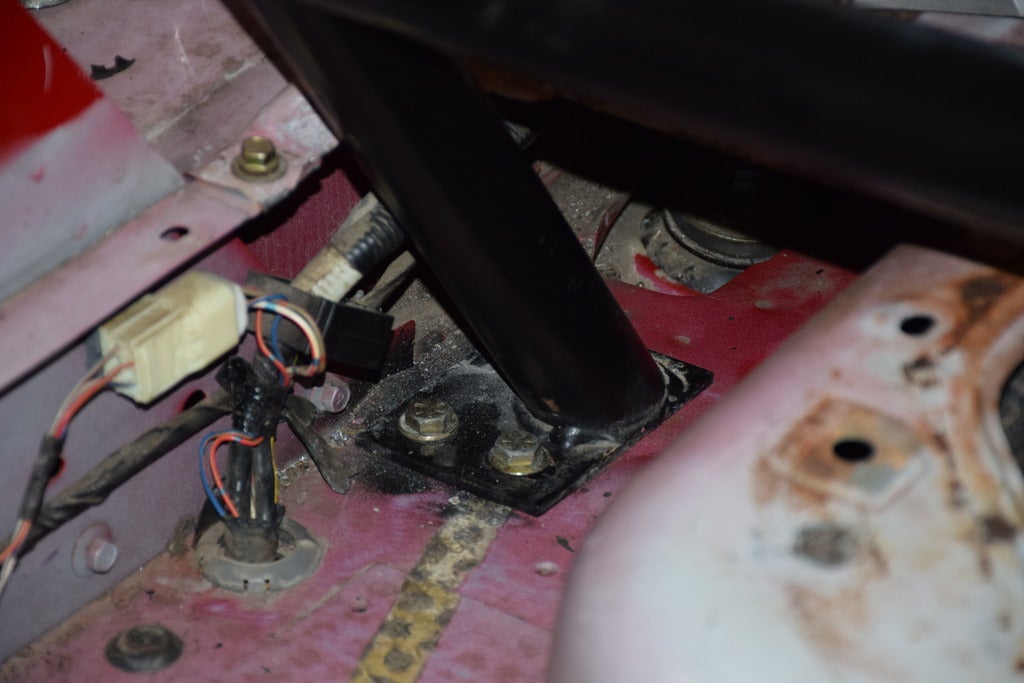
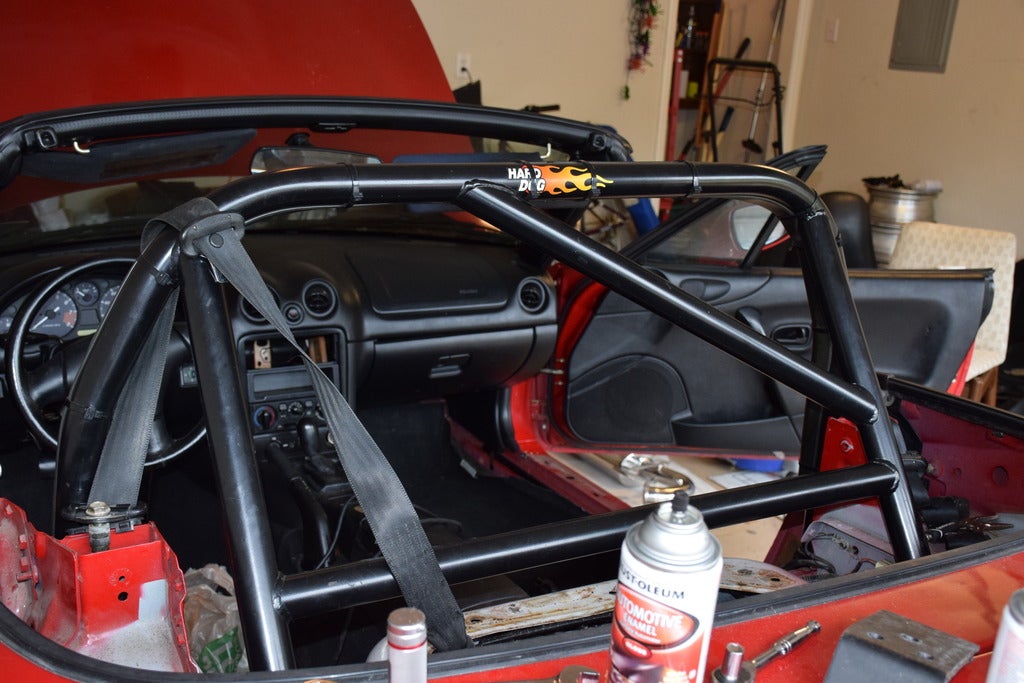
Canít forget the seatbelts....seriously that would be a huge pain since I would have to remove the bar to add them in later.
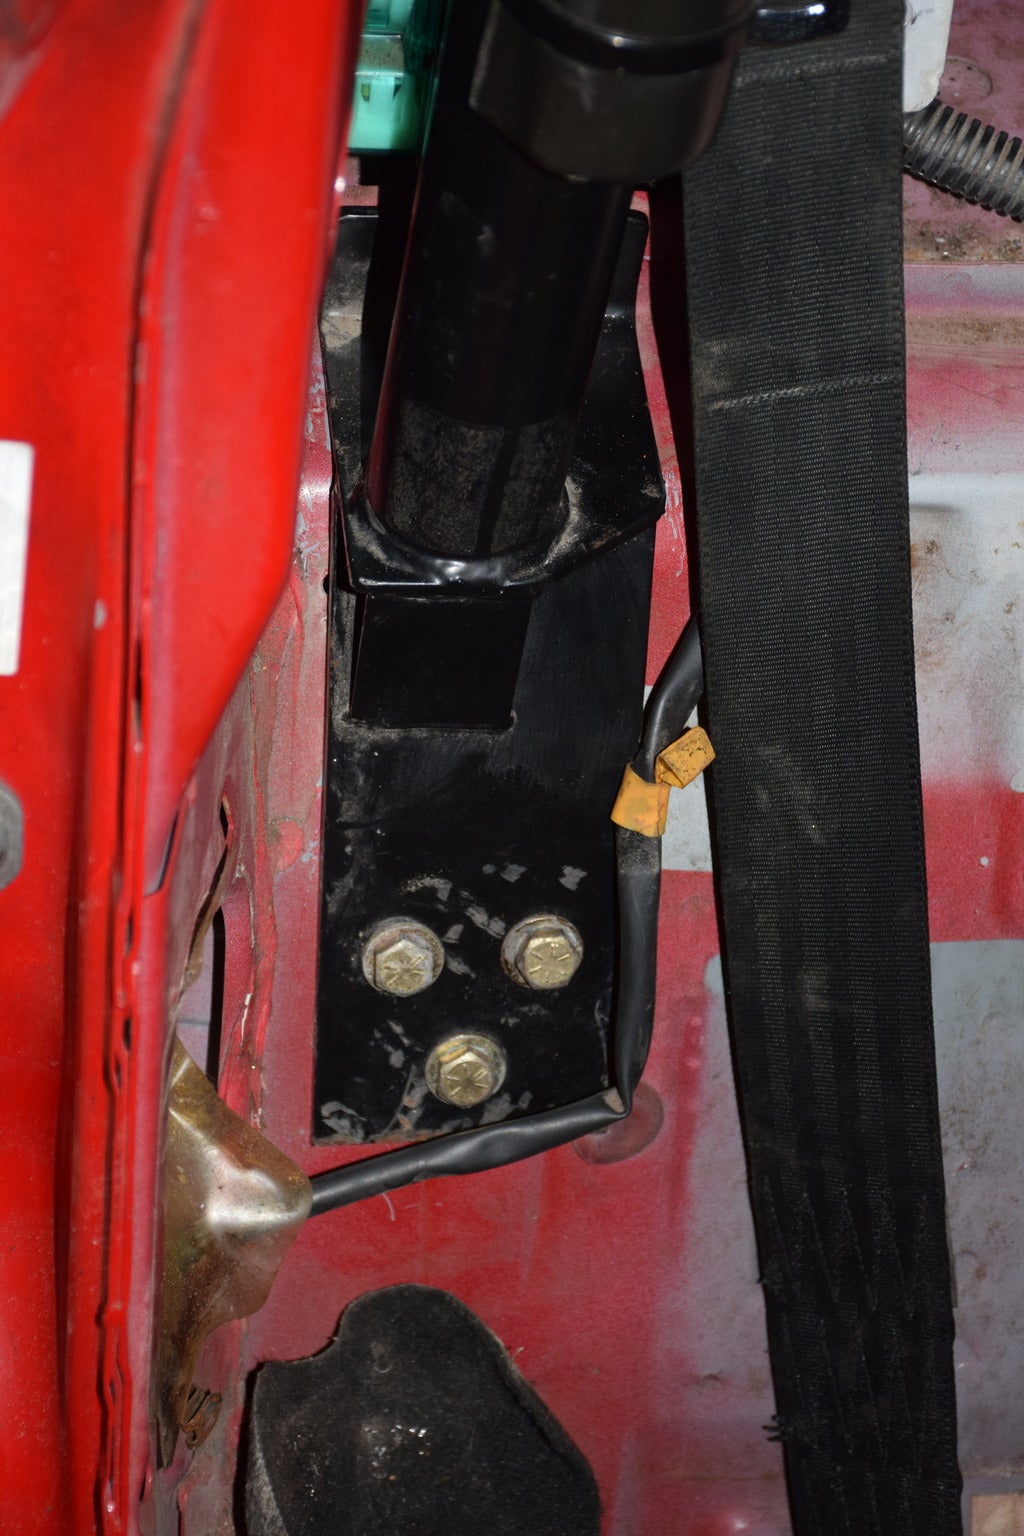
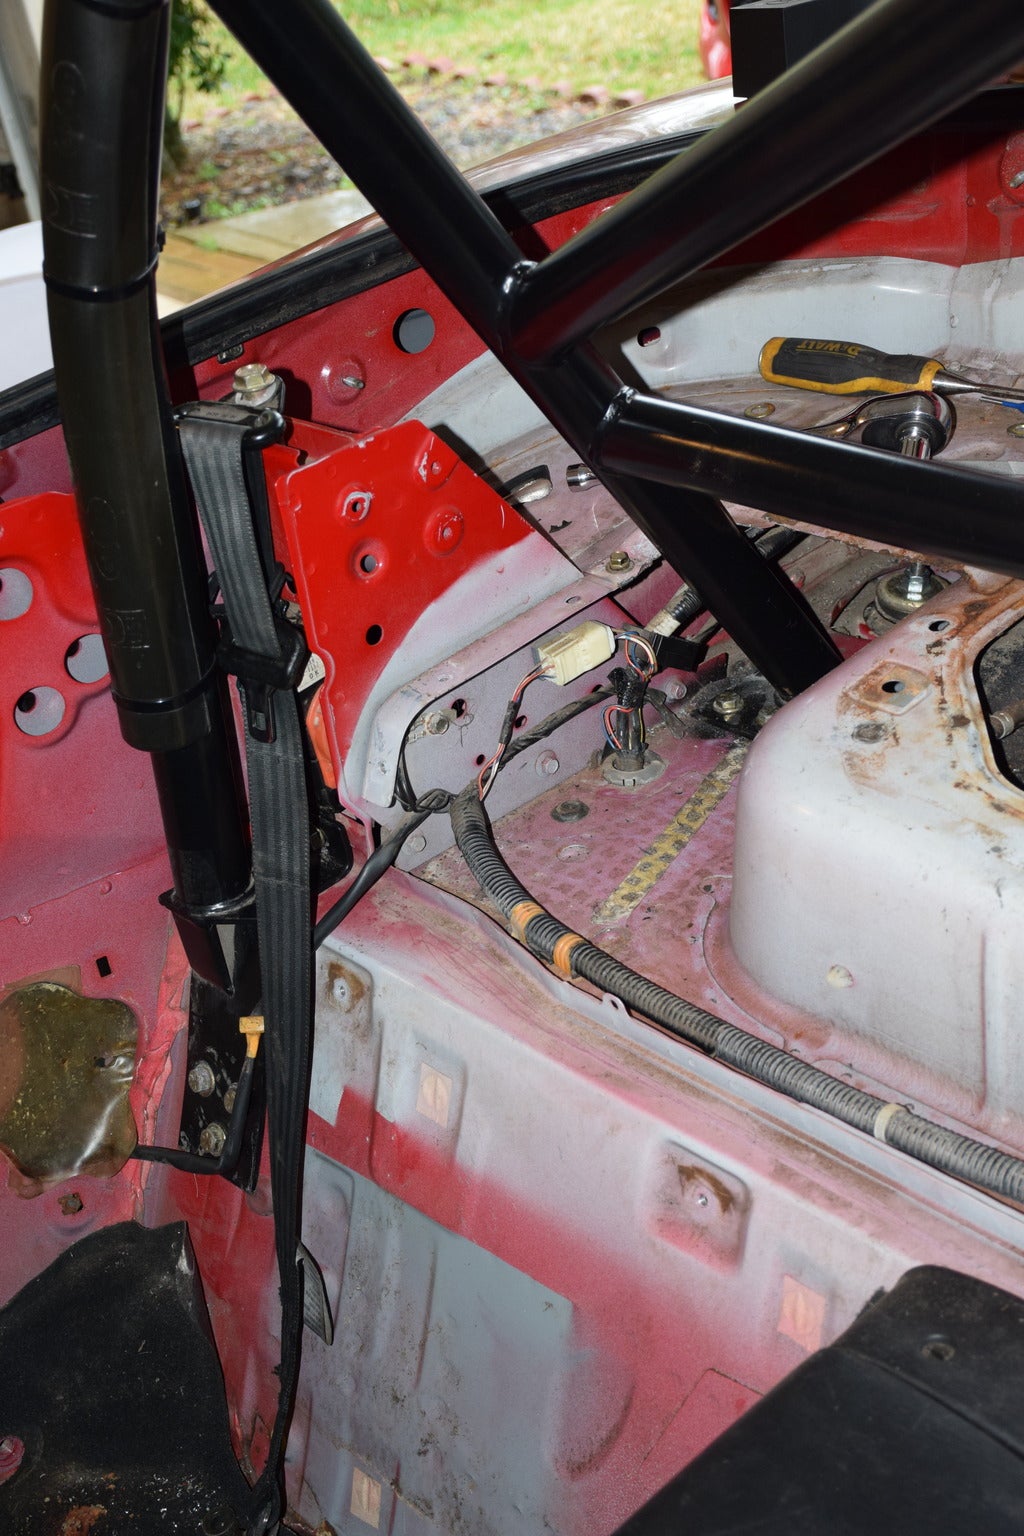
And done!
Next up the new look for the wheels!
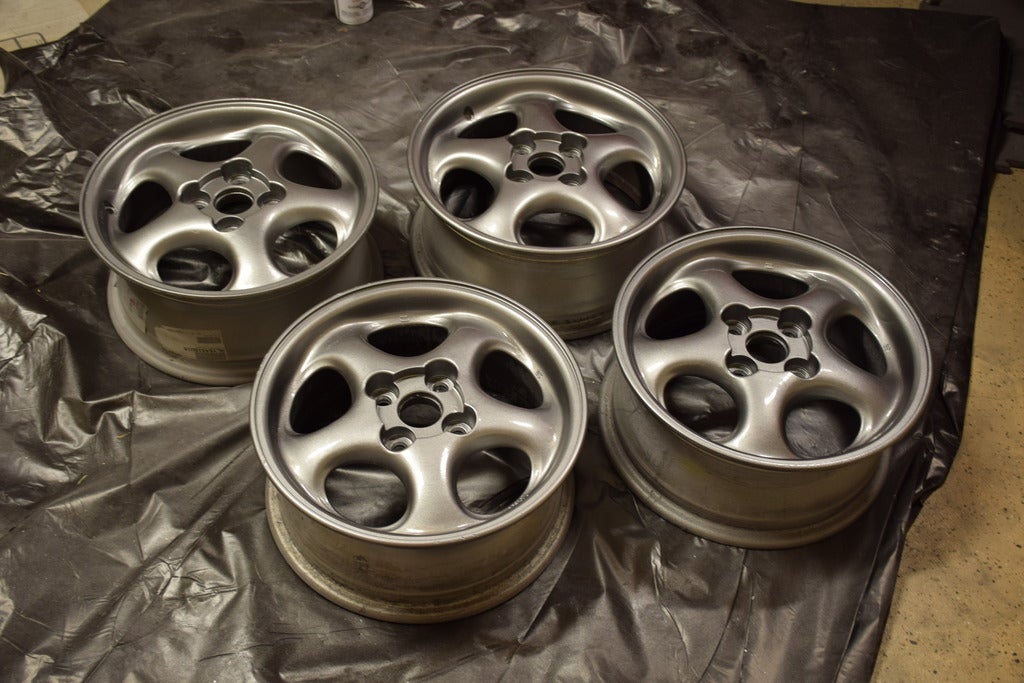
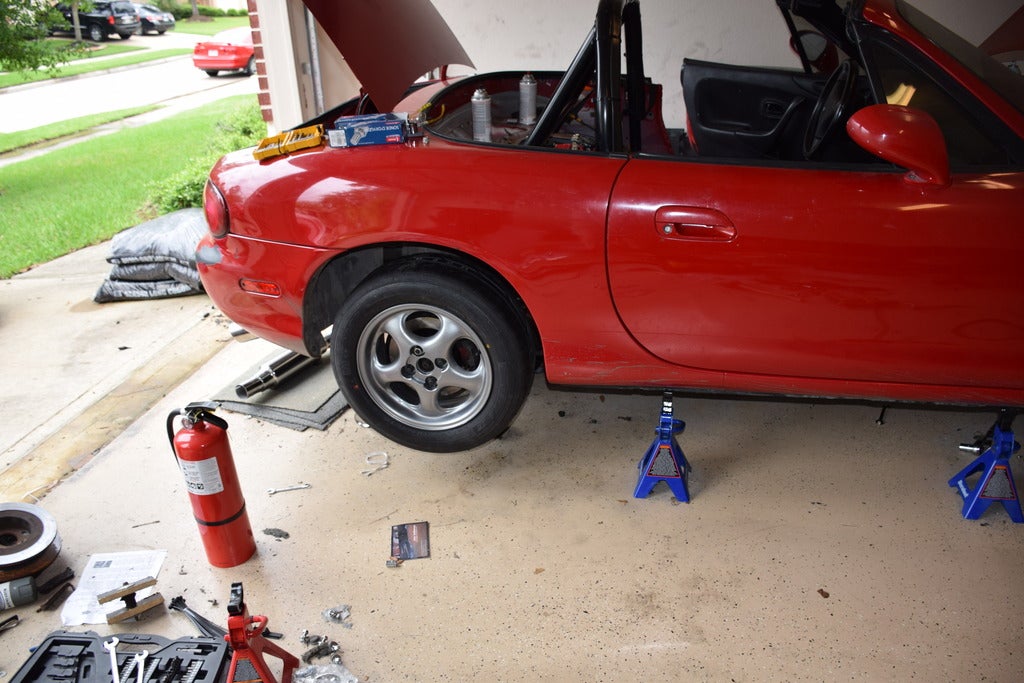
Not too bad for a rattle can job....unfortunately I need to fix 2 of them. The tire shop messed them up wen they were mounting and balancing the new tires. Itís partially my fault though, I really should have let them dry one or 2 more days before taking them to have tires mounted up.
Next up some chassis bracing in the form of frame rail braces from Flyin Miata.
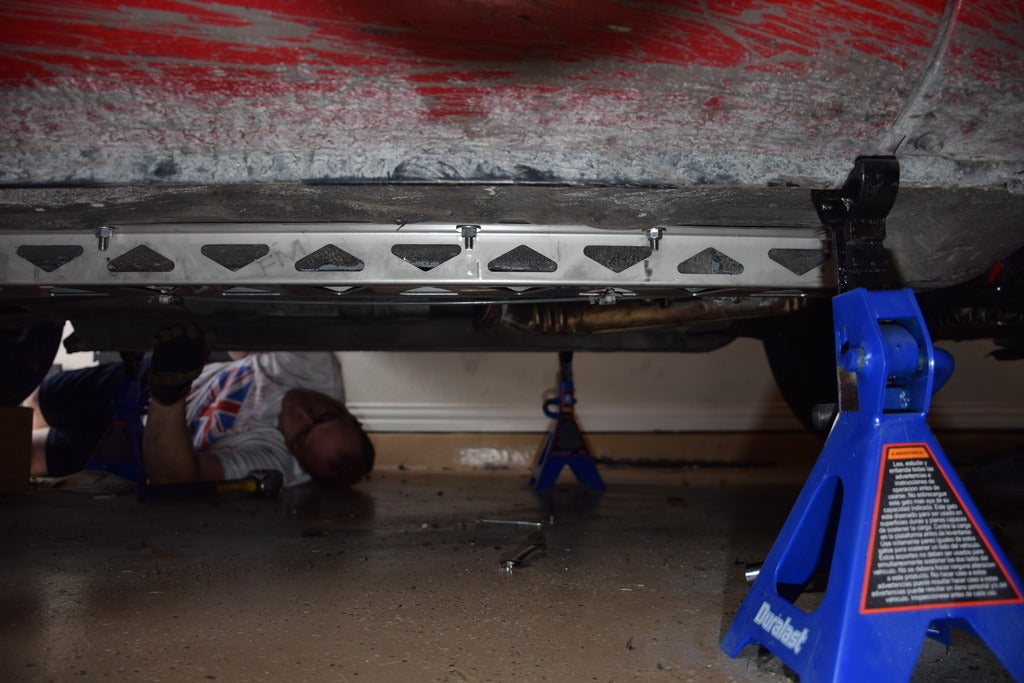
Installation is pretty easy, if bit intimidating since it does involve drilling holes into the floor pan to bolt them up.
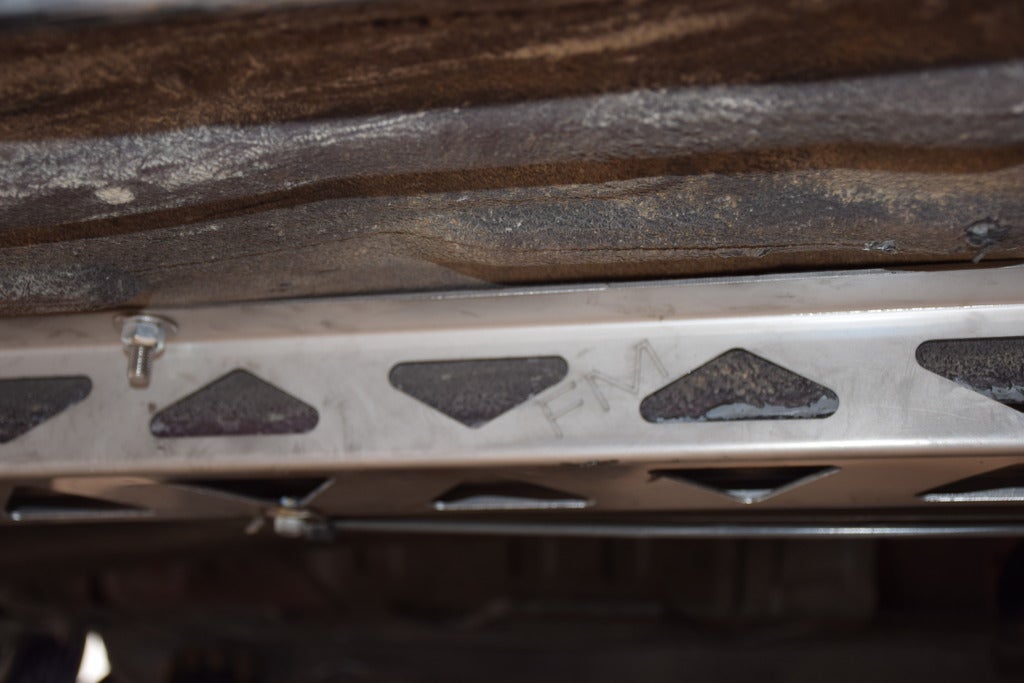
Theyíre good looking pieces though, love the etching on them.
Next, and last we have the exhaust work.
All the old and nasty OEM stuff is getting replaced with this stuff
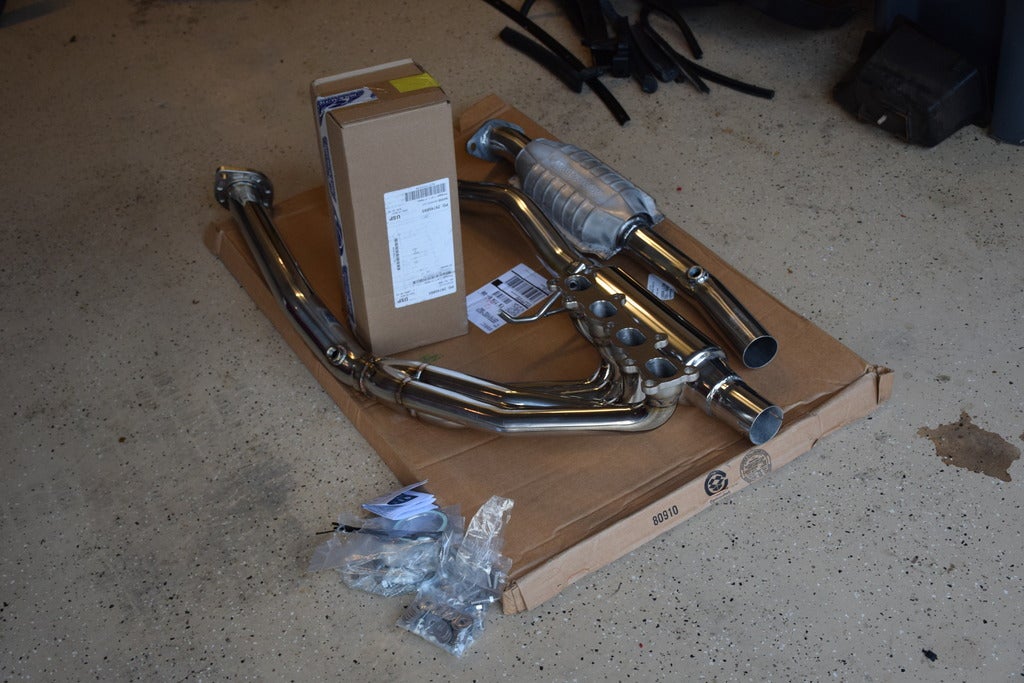
Racing Beat Stainless 4 into 1 tubular header, Magnaflow high flow cat, Flyin Miata resonated mid pipe, and a Flyin Miata N/A single tip muffler.
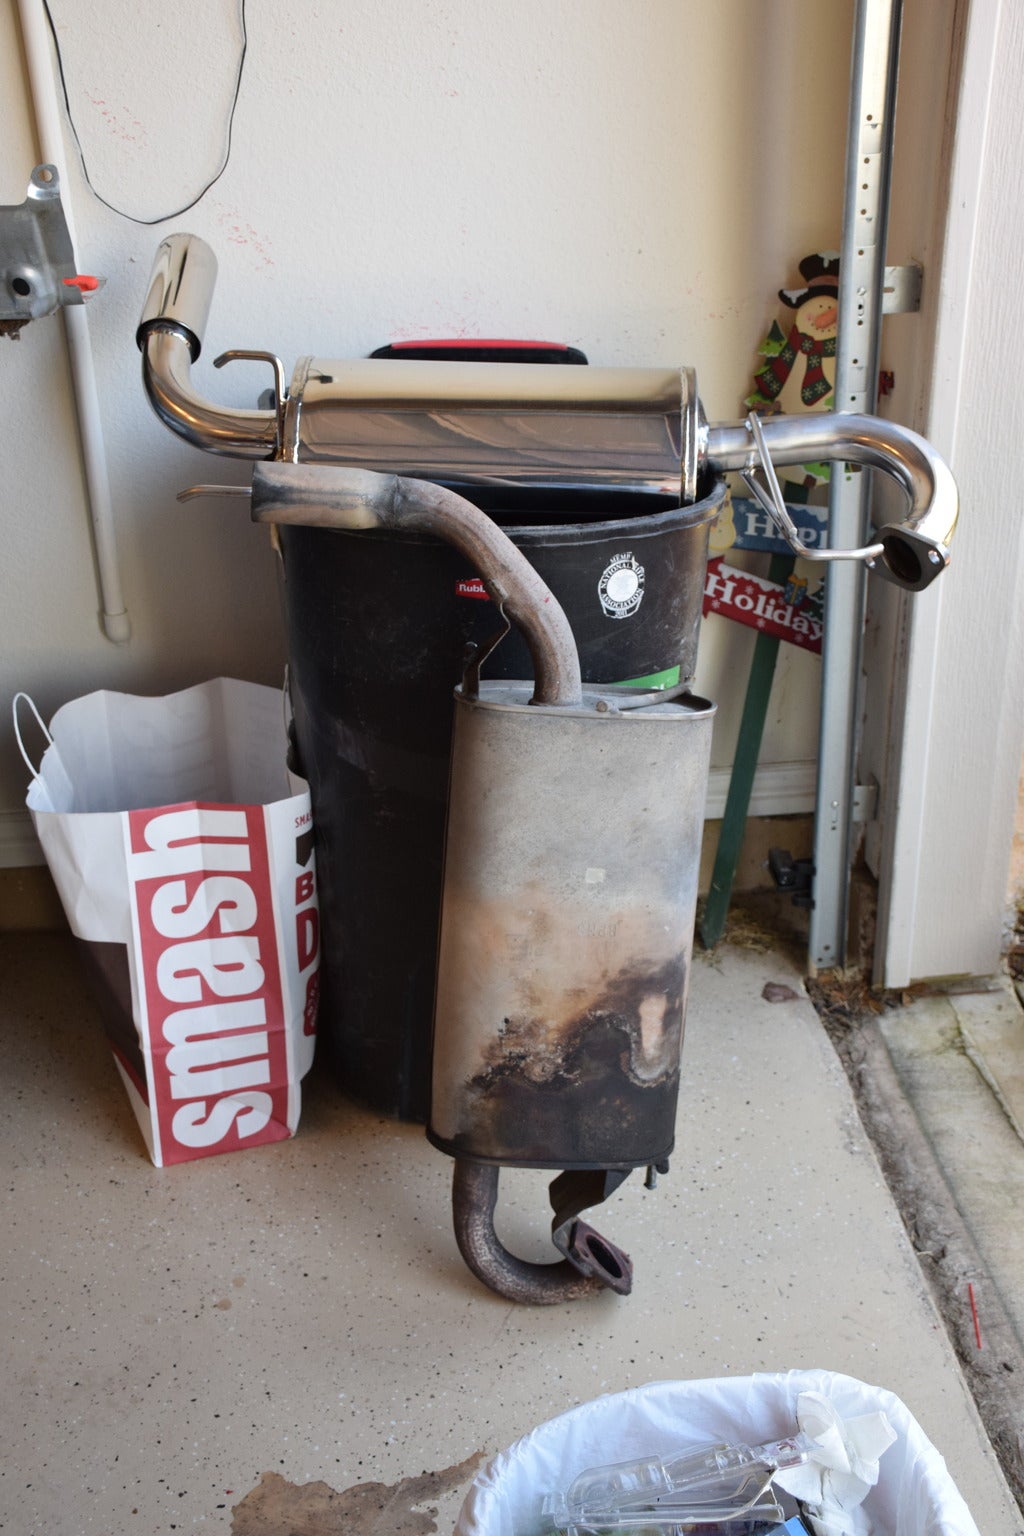
the old nasty muffler vs shiny new Flyin Miata unit
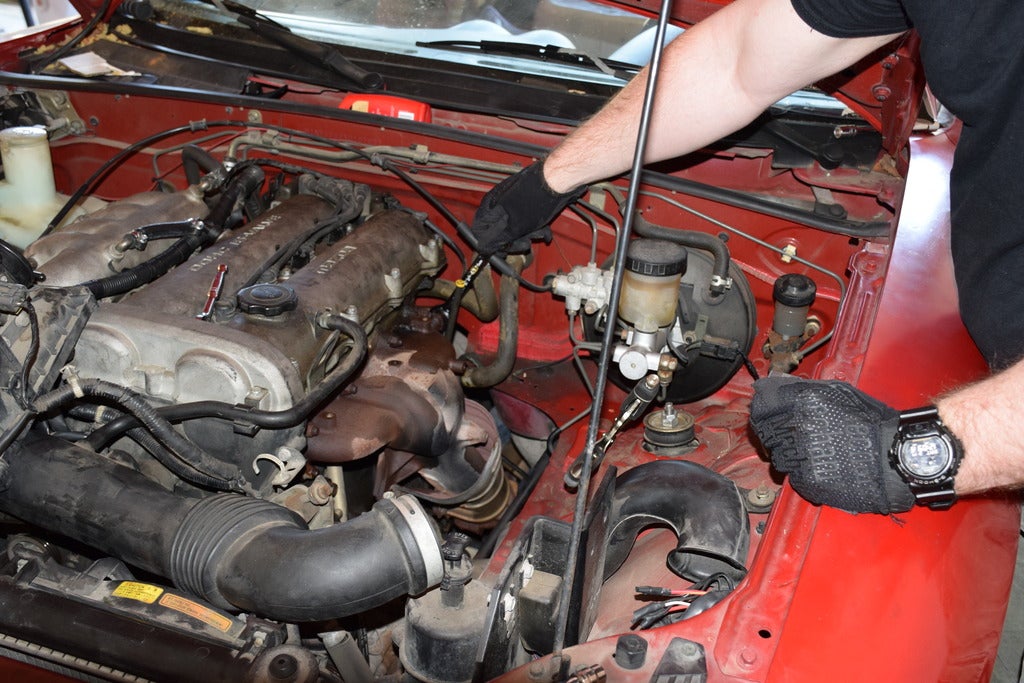
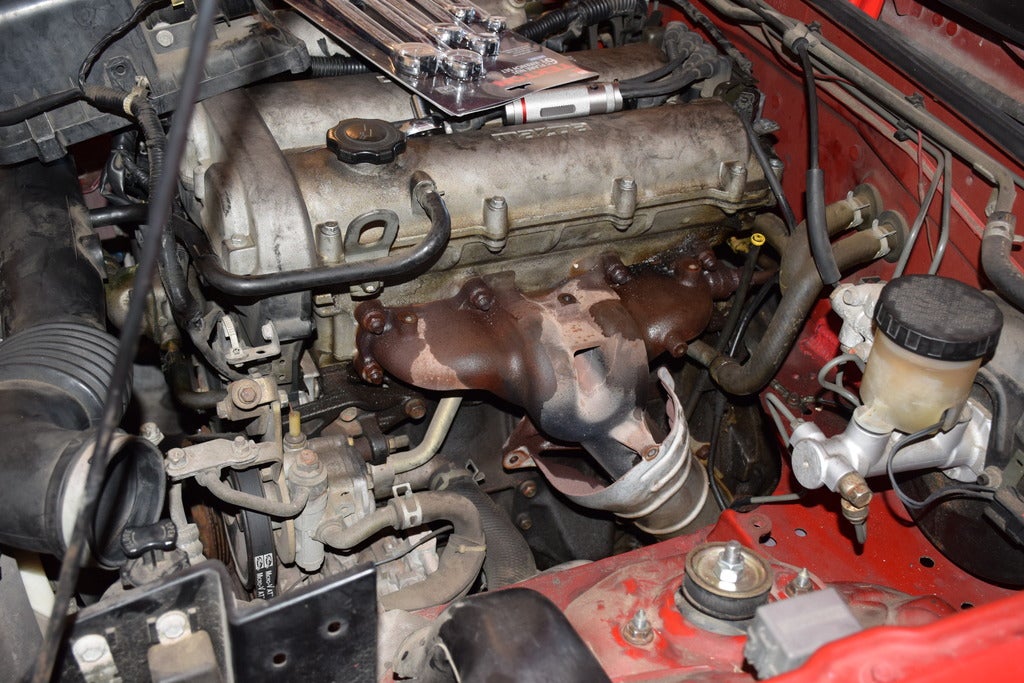
and the old boat anchor they call an exhaust manifold
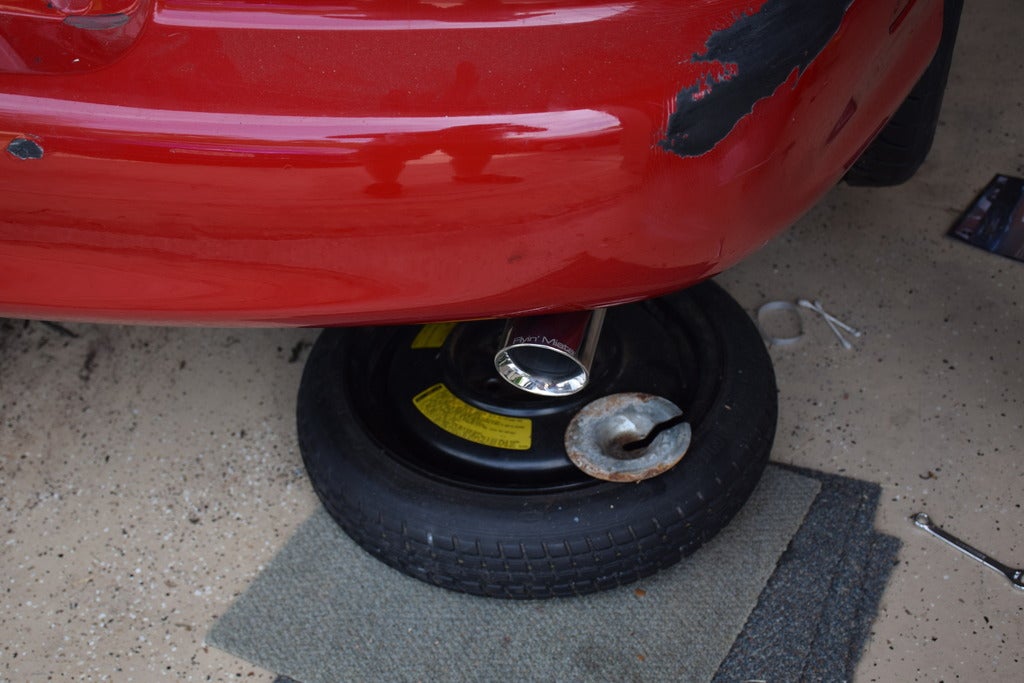
New muffler is on, once again, love the etching on the tip. Not pictured, the resonated mid-pipe is on too.
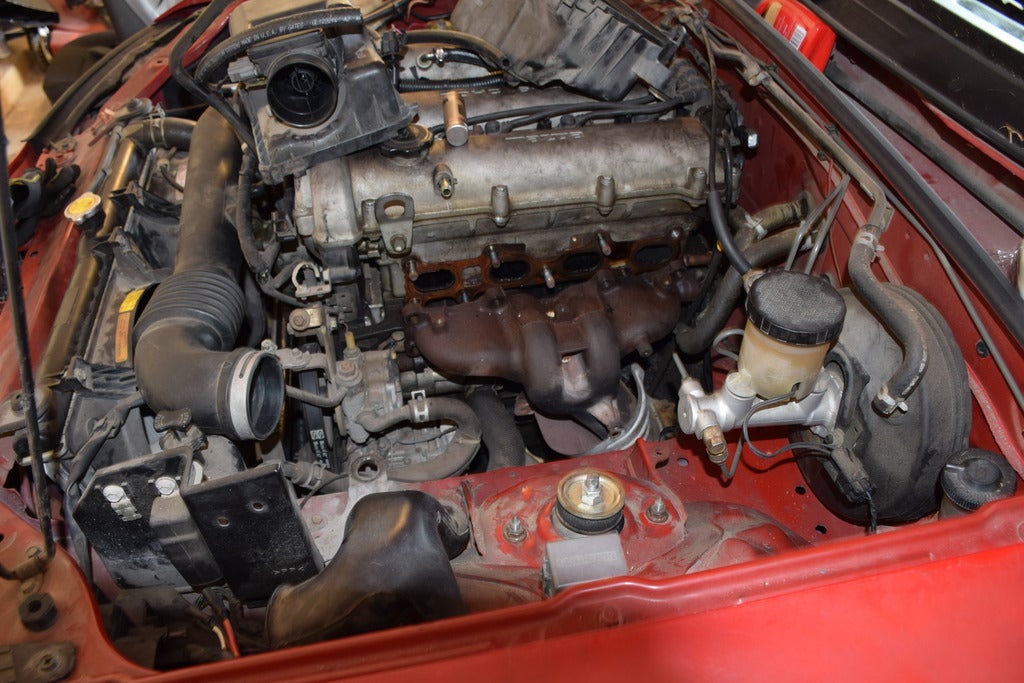
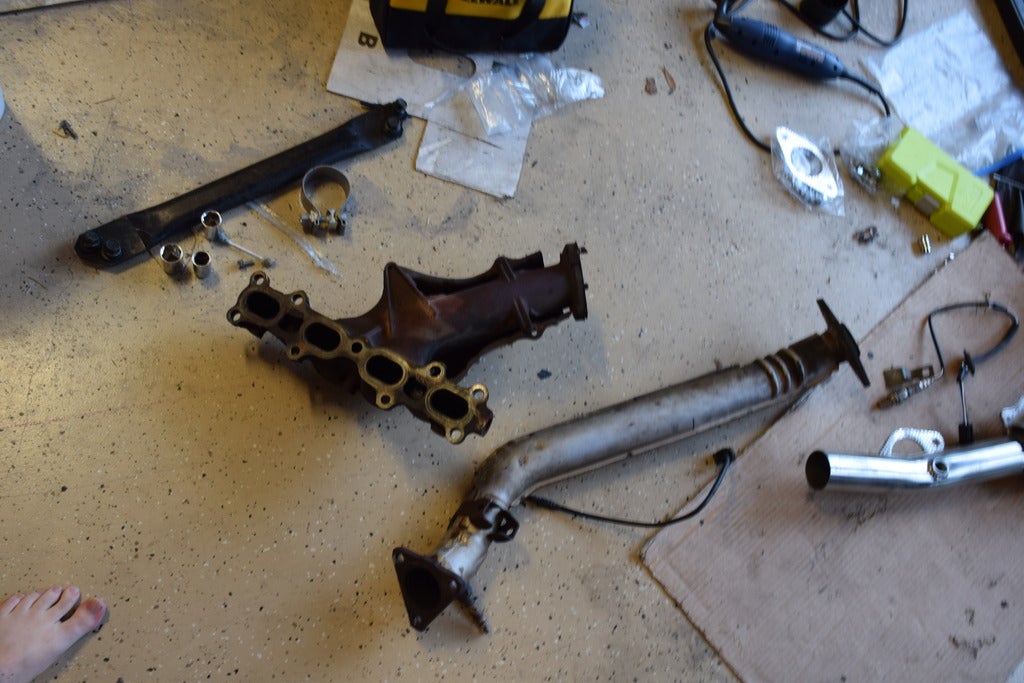
and the old exhaust manifold is out....after much cutting and bashing and swearing and.....the old bitch definitely earned her name on this part. (no me being barefoot in the garage is not a normal thing I had forgotten to take pics of the stuff I removed and went back out to take the pic after taking a shower, and was just too damn lazy to put shoes on for the 30sec that would take).
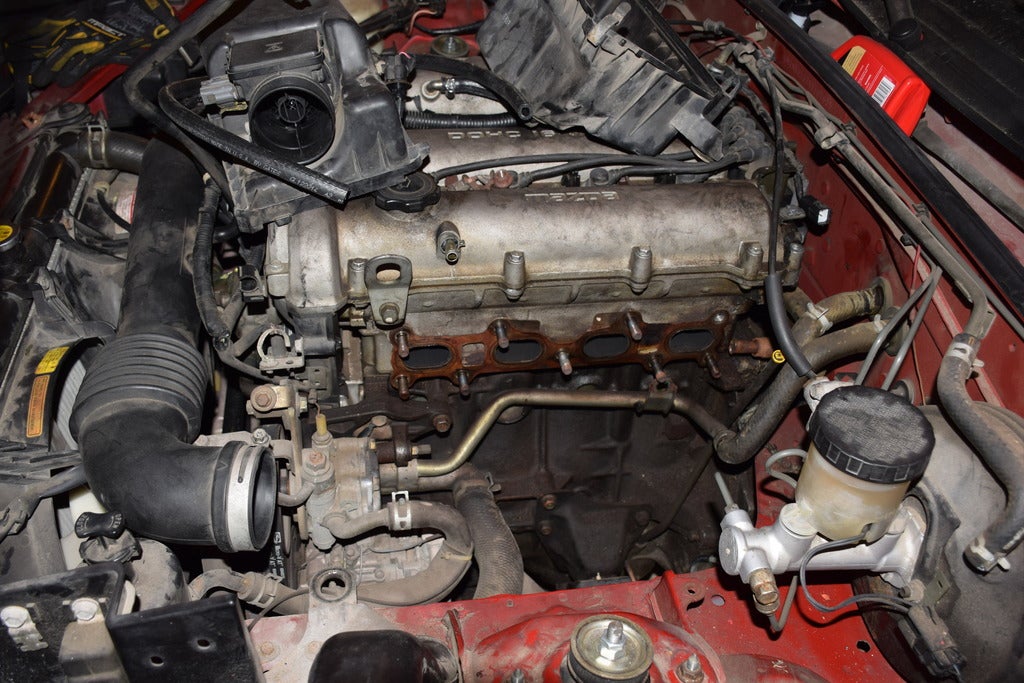
it looks so bare!
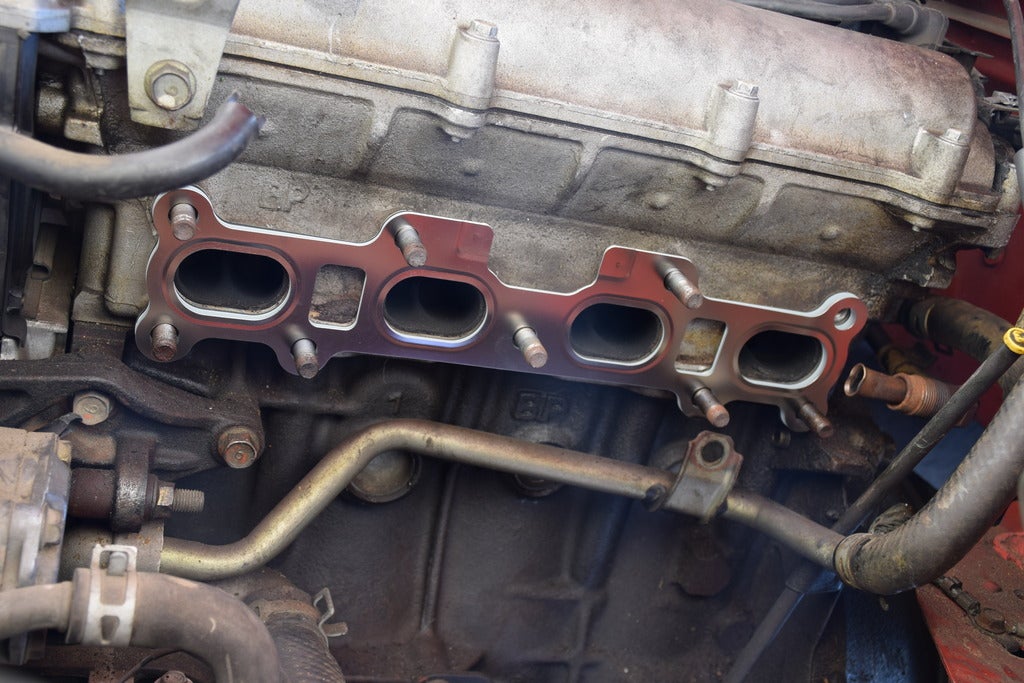
Nice shiny new gasket to go with the nice shiny new header!
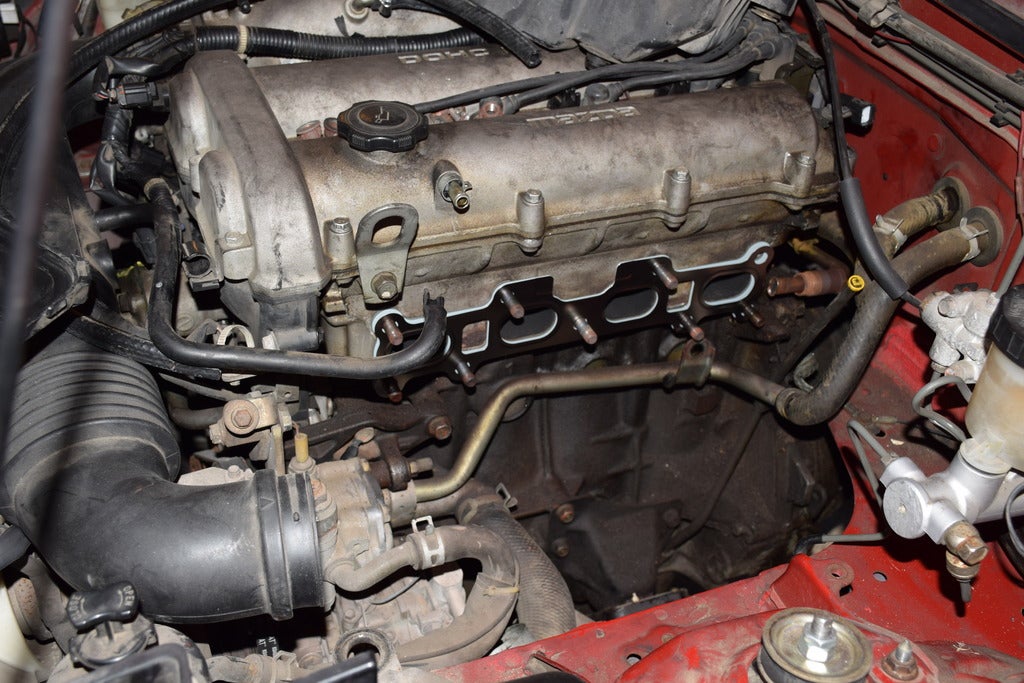
Oh, and I may have accidentally broken that PCV hose durring the extraction process....stupid brittle old rubber.
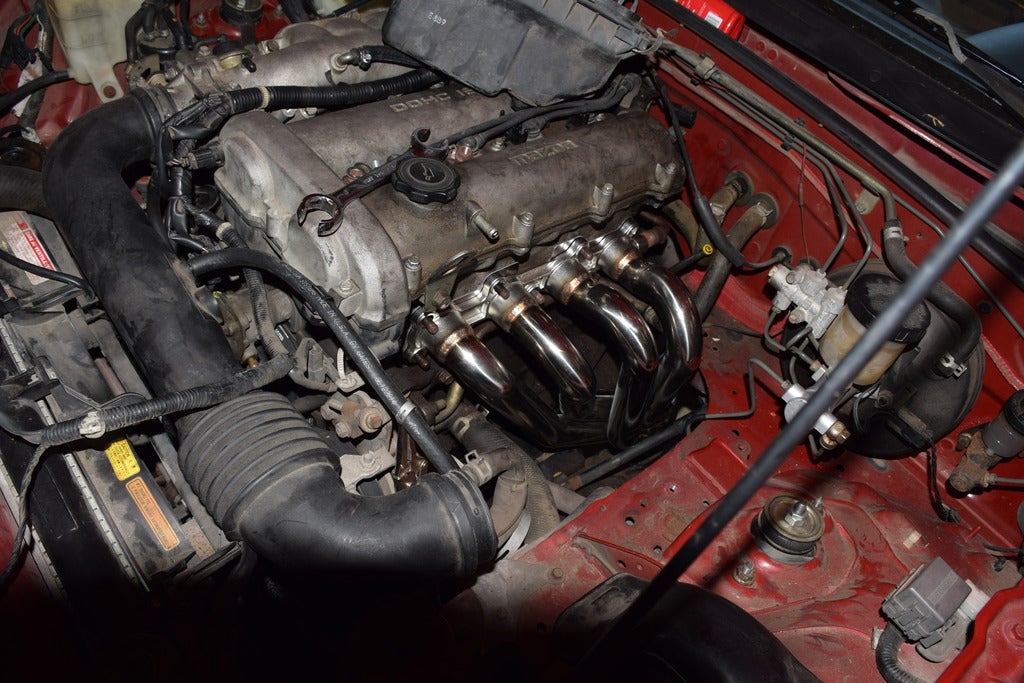
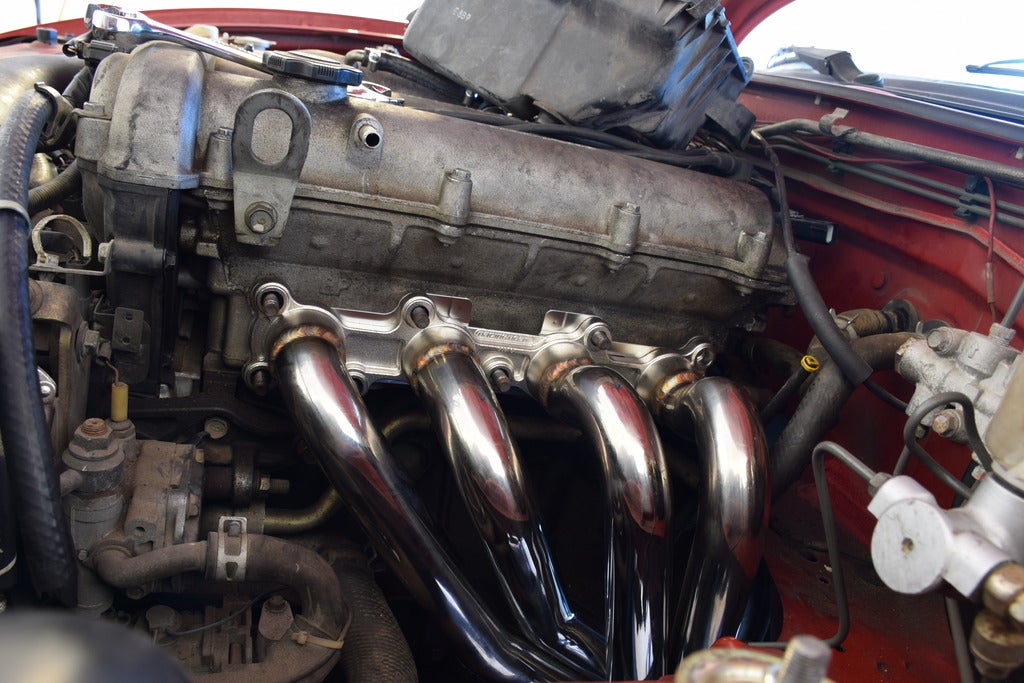
And in it goes! such a pretty piece, itís almost a shame to hide it under the hood!
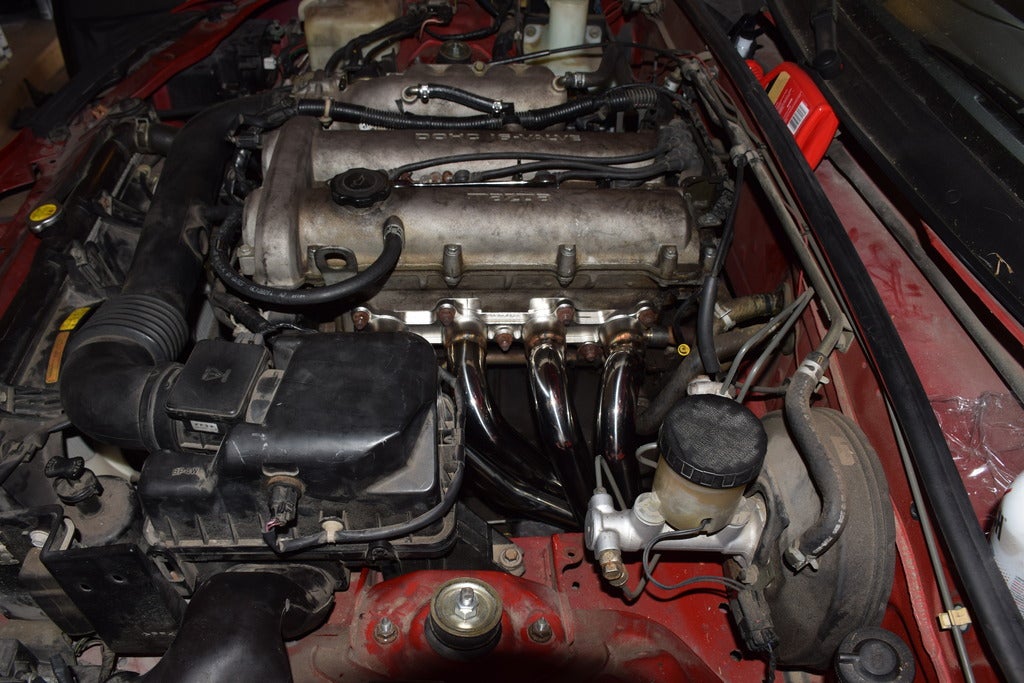
Everything all buttoned up, just one last piece and the engine bay is done for now.
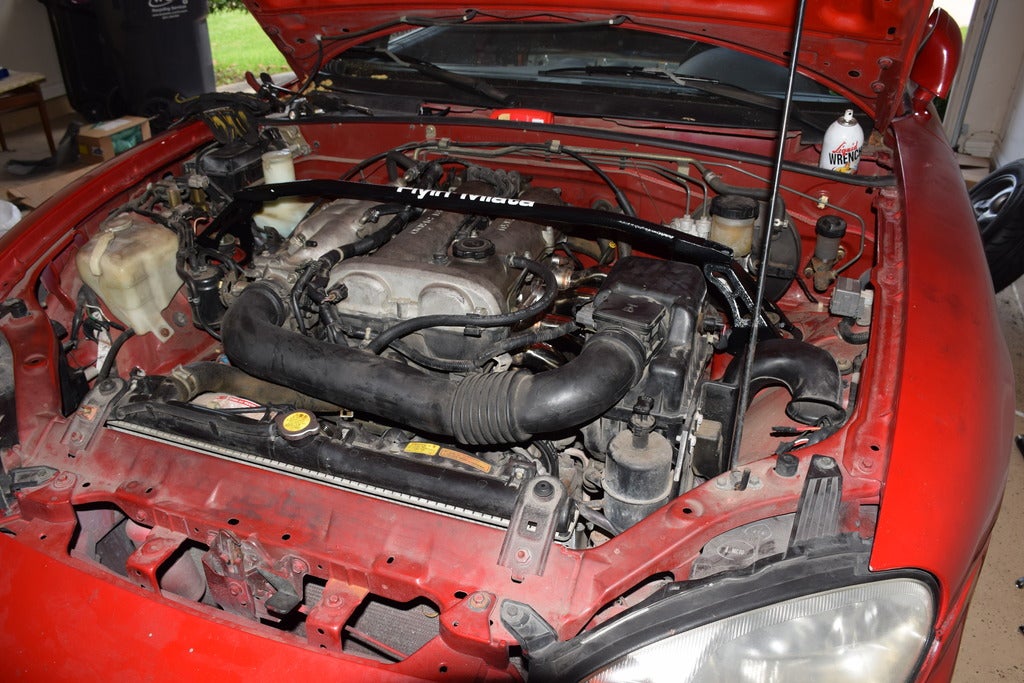
And there is is, a nice strut tower brace to firm up the front end a bit, and look good doing it.
From here I still need to put the interior back together, put the top on, and put back on a few exterior plastic trim bits ten sheíll be ready to ship off to the mech for some more work that ranges from stuff I canít do (alignment & corner balancing), to stuff I just donít want to do (new clutch, flywheel, braided clutch line, & slave cylinder), and a couple things I probably could do, but donít feel entirely comfortable doing just yet (timing belt & water pump service, and the MSM intake cam installation). Hoping to have her at the mech by the middle of this month, and hopefully have her back before the month is over, but weíll see. Then itíll be time to just enjoy driving her, and spray her with plastidip to cover up the super shitty paint until I can afford to correct her cosmetic issues properly and get her a good professional paint job.
 daender
> CKeffer
06/01/2015 at 12:02 |
|
Nice set of upgrades, they ticked off every area of the car Iíd like to address one day. Although, have you considered a set of sway bar blocks to prevent flexing the somewhat-flimsy metal mounting points to the point of failure?
 Leon711
> CKeffer
06/01/2015 at 12:02 |
|
mine hasnít had one for 18 months, but I live in the UK so no issues with heat.
 Leon711
> CKeffer
06/01/2015 at 12:03 |
|
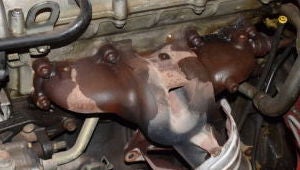
I didnít know USDM had a different manifold, EU ones are tubular steel.
 daender
> Leon711
06/01/2015 at 12:21 |
|
Itís an NB1 thing since NB2 recieved tubular ones. However, the US cars didnít get the square-top intake manifold, more aggressive cams, higher redline, and 4-2-1 exhaust manifold everyone else has.
 Nothing
> Leon711
06/01/2015 at 12:27 |
|
I believe they changed on the 1.8. The 1.6 is tubular.
 Nothing
> CKeffer
06/01/2015 at 12:29 |
|
Nice work. Mineís been apart for a month now. I made my way through the clutch, flywheel, timing belt, water pump, and now just have to get everything back together. I should have it done by this weekend.
I need to pick up an undertray. Mine was AWOL when I bought my car. Although I havenít had overheating issues. Iím sure on the track it may be a different story.
 CKeffer
> Nothing
06/01/2015 at 13:14 |
|
Edit because Kinja is flipping out and posted this to the wrong comment: Min has been on stands for 5-6 months now, so 1 month isnít too bad. As for the overheating this, yeah it tends to be during track sessions and such when youíll be dealing with higher heat for extended periods, and even then is a ďcanĒ rather than a ďwillĒ issue.
 CKeffer
> Leon711
06/01/2015 at 13:19 |
|
As others have said 99 & 01 had this POS in the US, every other model has the tubular ones.
 CKeffer
> daender
06/01/2015 at 13:20 |
|
Yup, they are on the list to get eventually as well. Next year will see those, a major overhaul and upgrade to the cooling system, and some better seats and harnesses to hold me in durrign track days and autocross events.
 CKeffer
> Leon711
06/01/2015 at 13:22 |
|
It seems to be a bigger issue in hot climates, and for cars that see track duty. Even then it seems to be a ďcanĒ situation rather than a ďwillĒ. I just know that there are several guys on the Miata forums who had issues with heat without the tray, installed one for the following event, and the problems were greatly reduced.
 daender
> CKeffer
06/01/2015 at 13:23 |
|
Are you planning on the doing the coolant reroute along with proper temp and oil pressure gauges?
 CKeffer
> daender
06/01/2015 at 13:35 |
|
Reroute, upgrade the radiator, shroud, fans, and weíll see how much is left over for the gauges, but they are on the list for eventually as well, if not next year, then the one after. My guess is the temp gauge at the very least happens. Iím trying to beef up all the supporting systems on the car to prepare it for eventual supercharging. Iíll be staying N/A for a while though, likely finishing out a basic N/A build first with a flat top manifold, CAI with isolation box, and a tune via megasquirt. With the other stuff I have done, that should put me around 140rwhp give or take. Which should make for a very fun little car.
 daender
> CKeffer
06/01/2015 at 13:48 |
|
I think you only need the sensors, a little wiring, and soldering a resistor to the temperature gauge to make it all work. Best of luck with your fun build, seems like a bulletproof setup!
 CKeffer
> daender
06/01/2015 at 13:57 |
|
Thatís the idea! Build up all the systems that keep the engine happy, the car handling well, and stopping, and then add power gradually till you have a balanced product. As for whatís needed, Iím not much of an electrical guy. I can turn a wrench just fine, but wiring is something I find a bit intimidating, so Iíll likely get some help with that one, hopefully there will be someone in the local Miata club who can help out with that.